SHOE DESIGN PROJECT
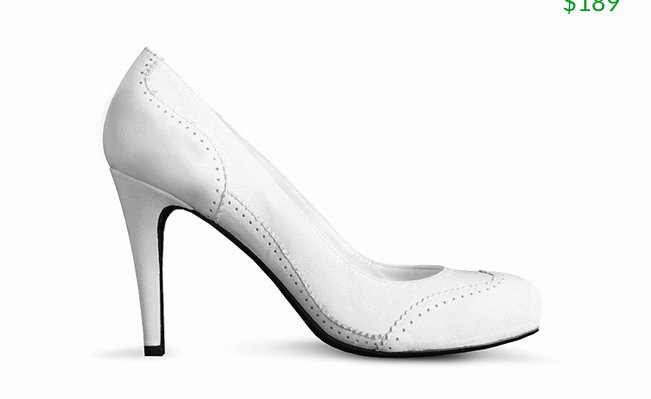
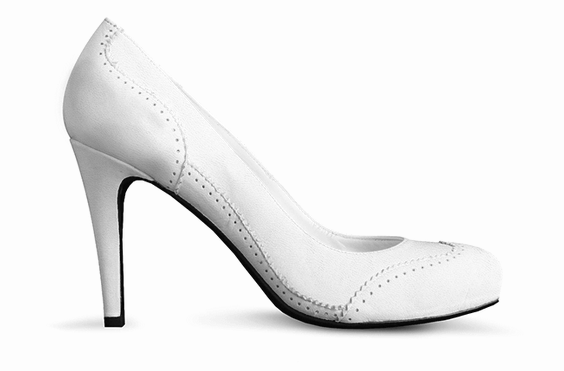
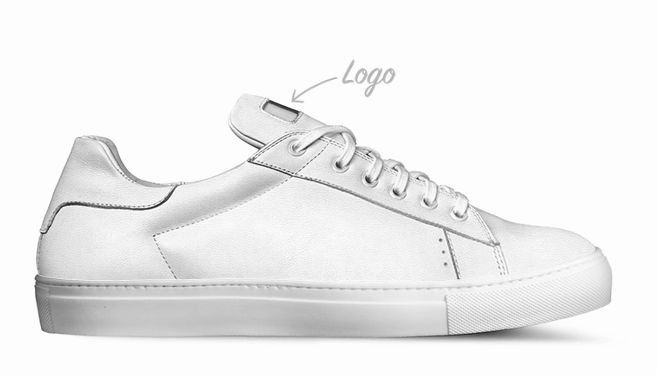
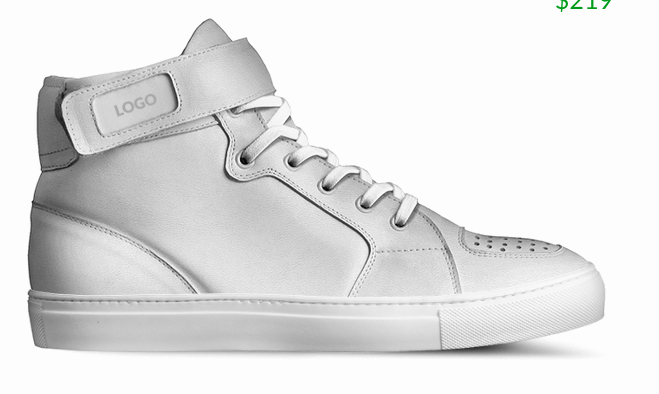
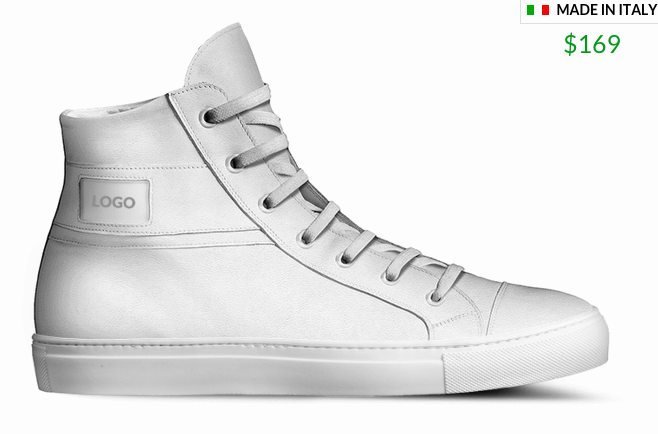
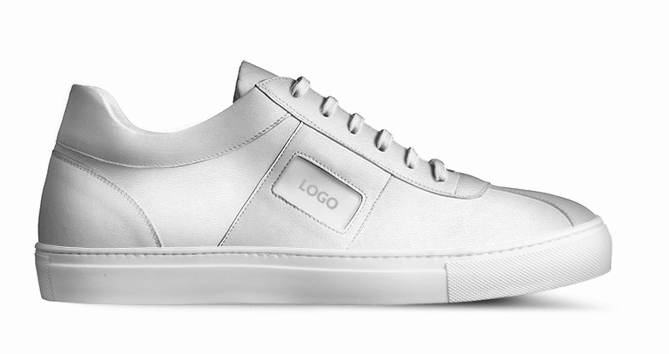
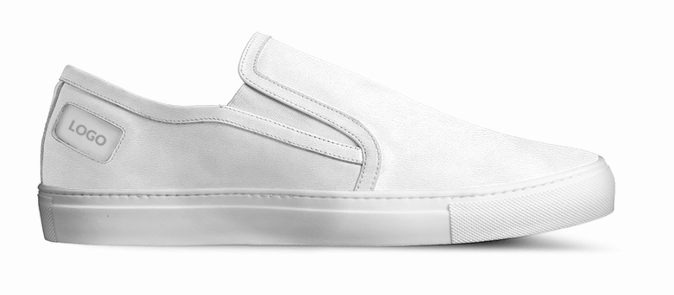
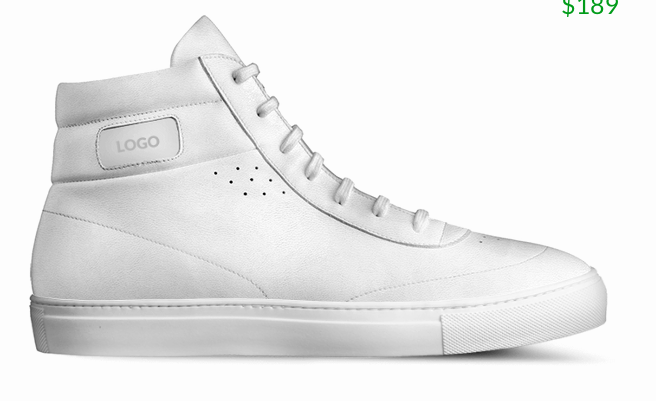
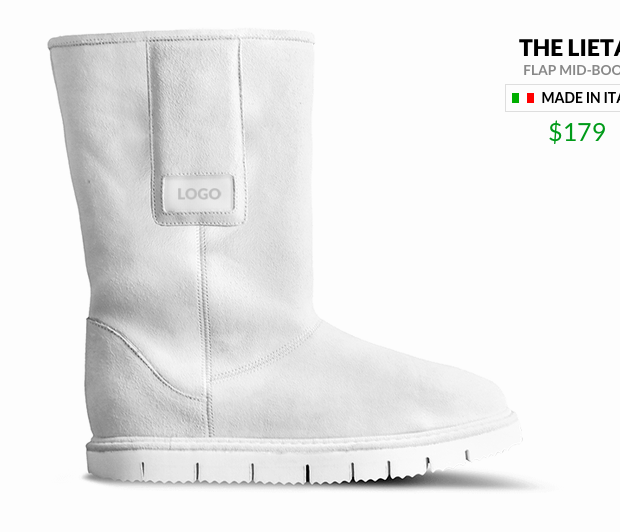
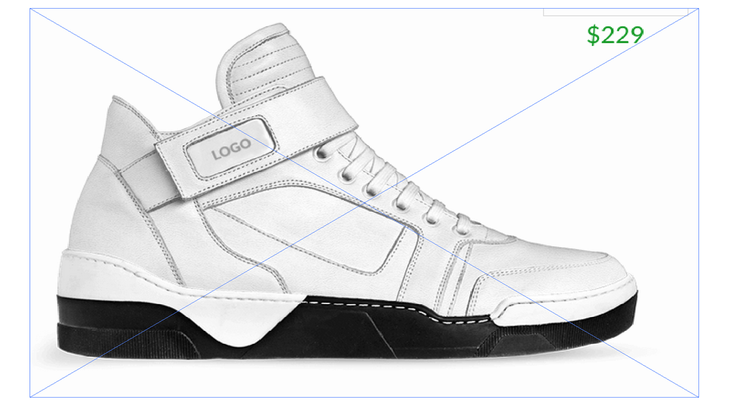
Step 1 - Select your shoe template
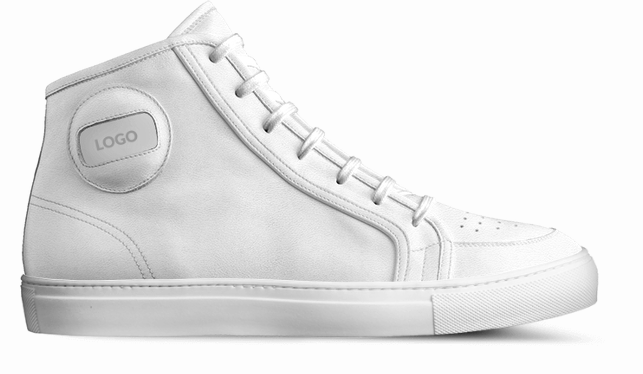
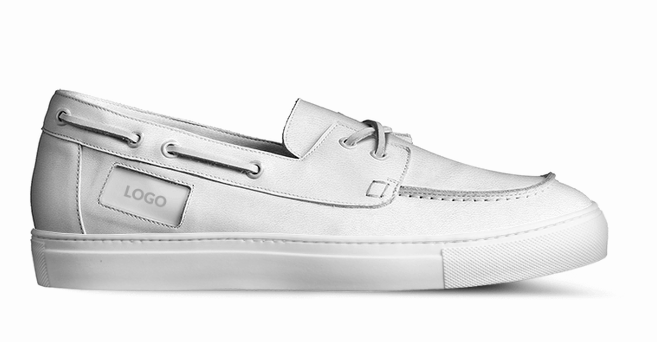
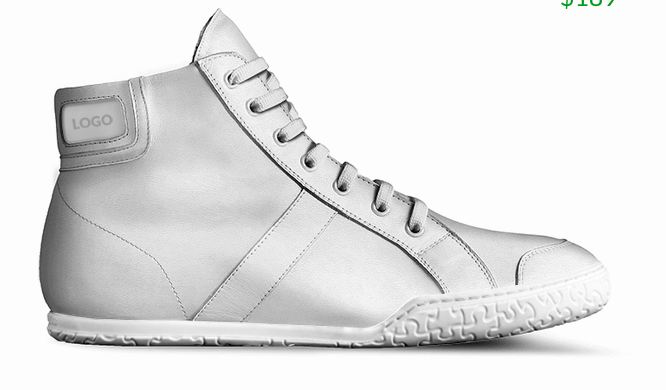
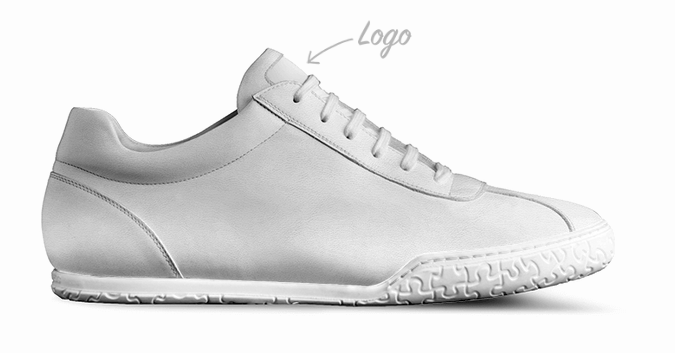
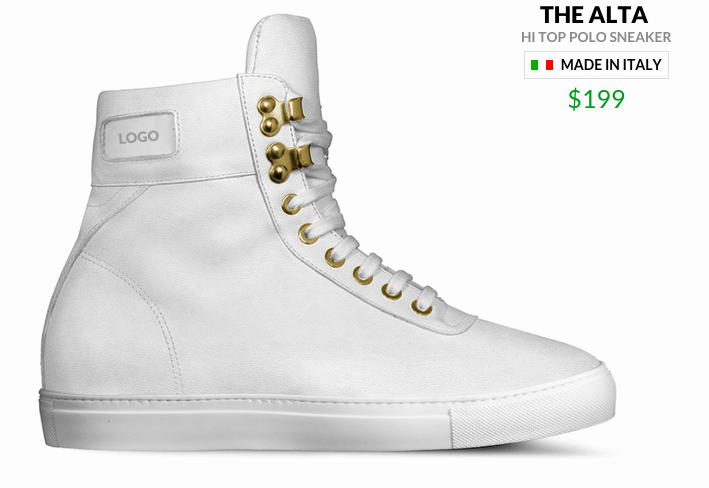
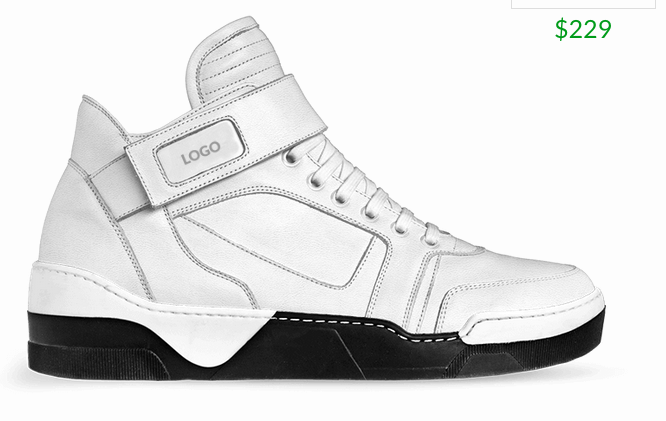
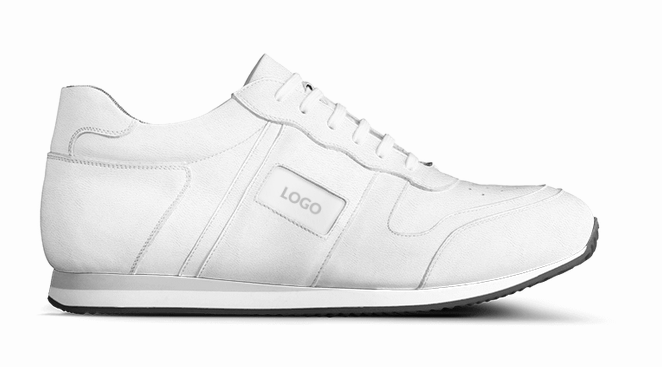
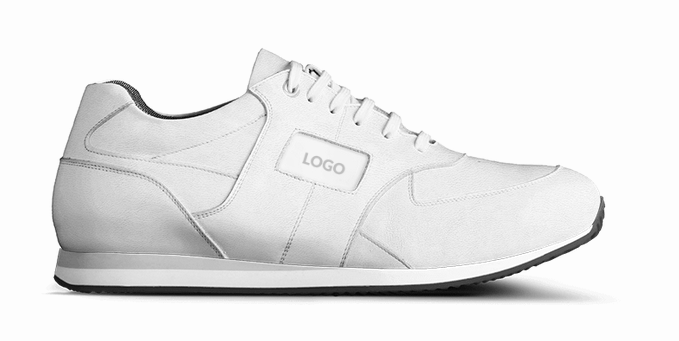
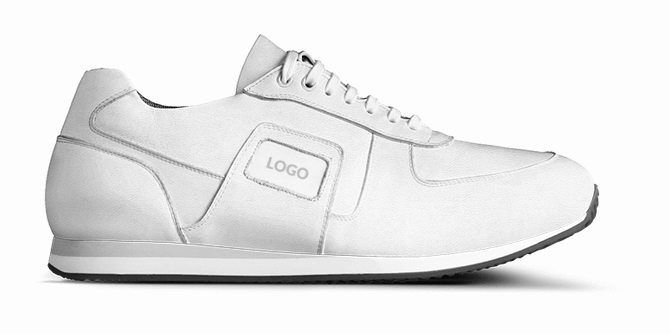
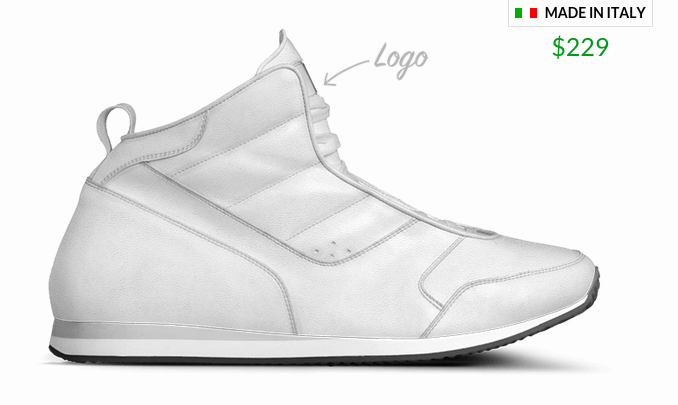
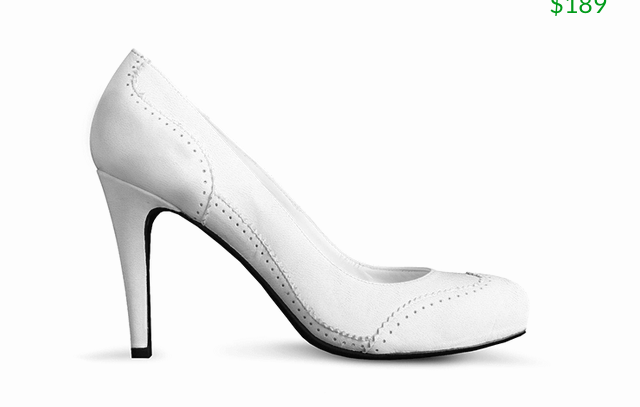
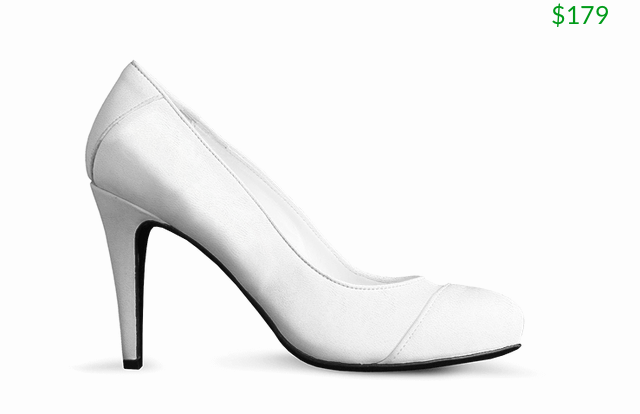
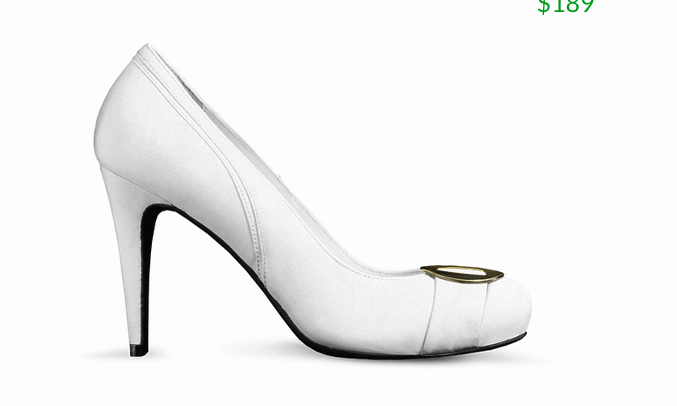
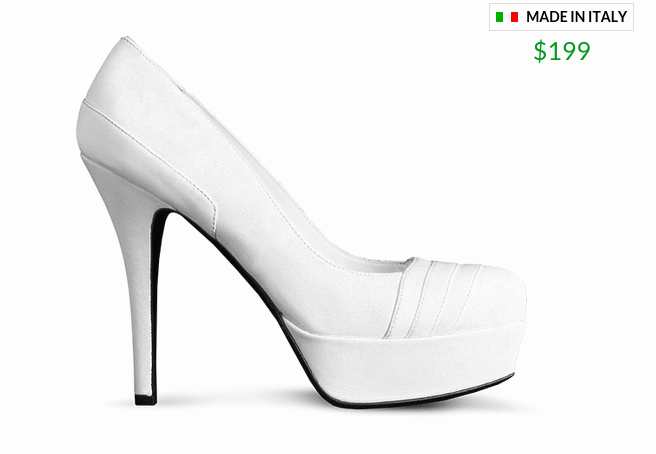
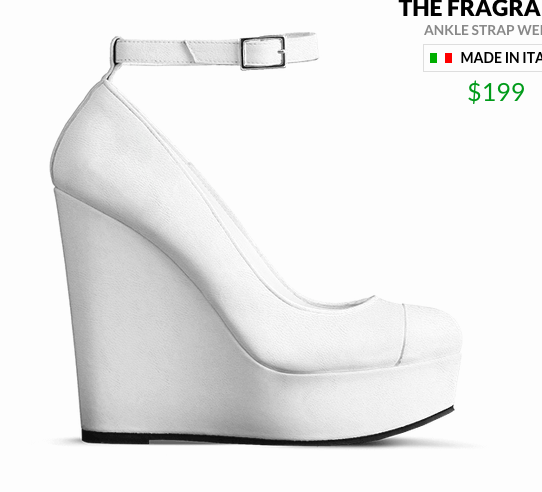
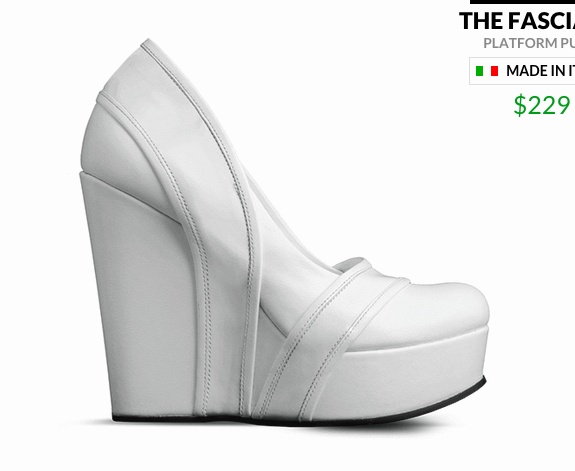
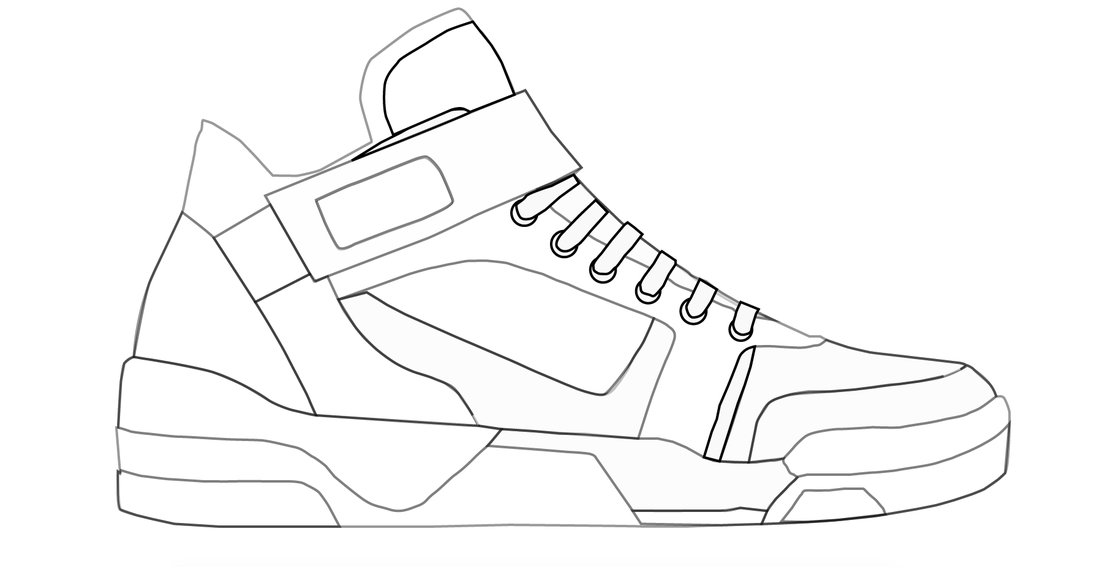
Select ONE of the shoes below to trace for your design.


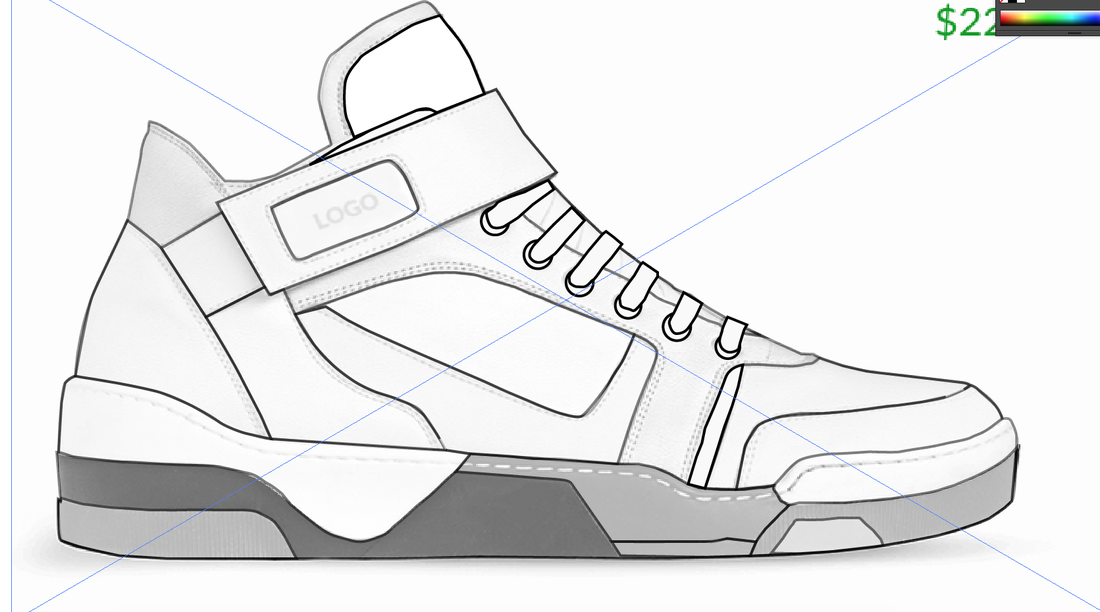
Step 2 -Bring photo in to Illustrator. Using the pen tool, trace an outline around the shoe.
|

|
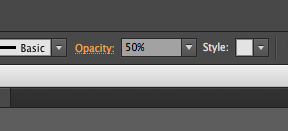
Step 3 -Bring the opacity to 50%
STEP 4: Break the shoe down into shapes. Continue using the pen tool. Make sure to connect each shape you trace. If you don't you won't be able to fill in the parts you want!
****When you draw a shape, make sure to bring the shape's opacity down to 50% or you won't be able to see it.
Once it is fully traced, delete the shoe picture you used as a template.
STEP 5 - Begin filling in your shapes with colors, gradients or patterns of your choice. Be creative
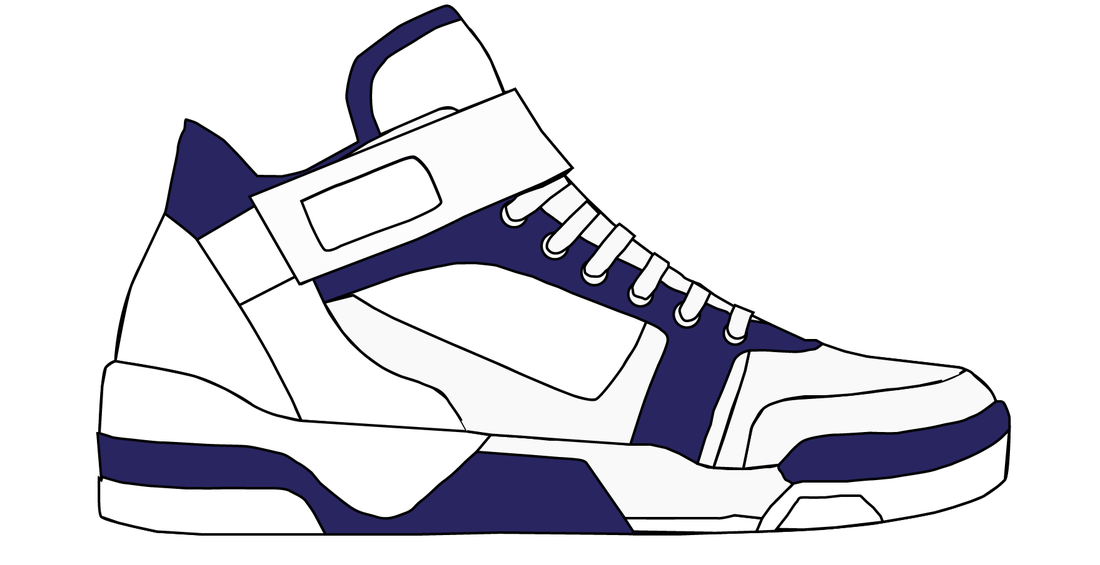
Color |
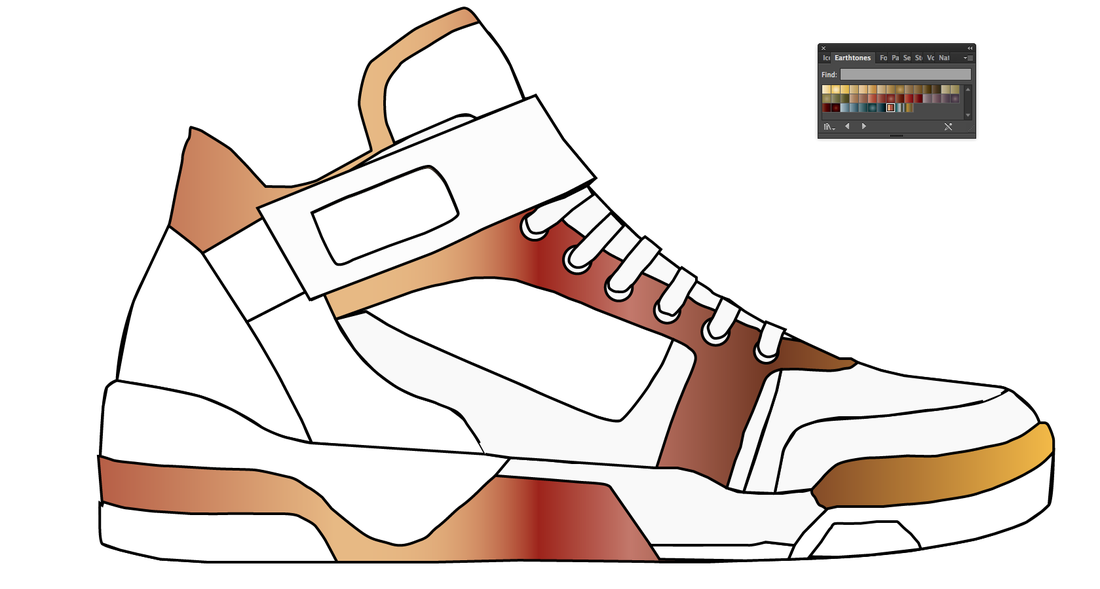
Gradient |
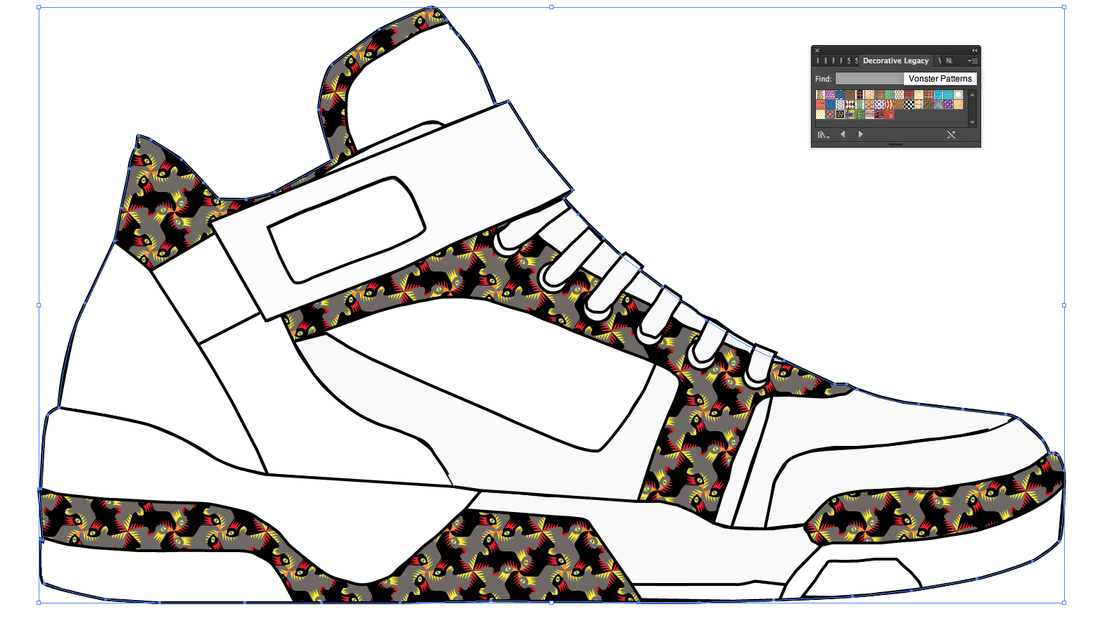
Pattern |
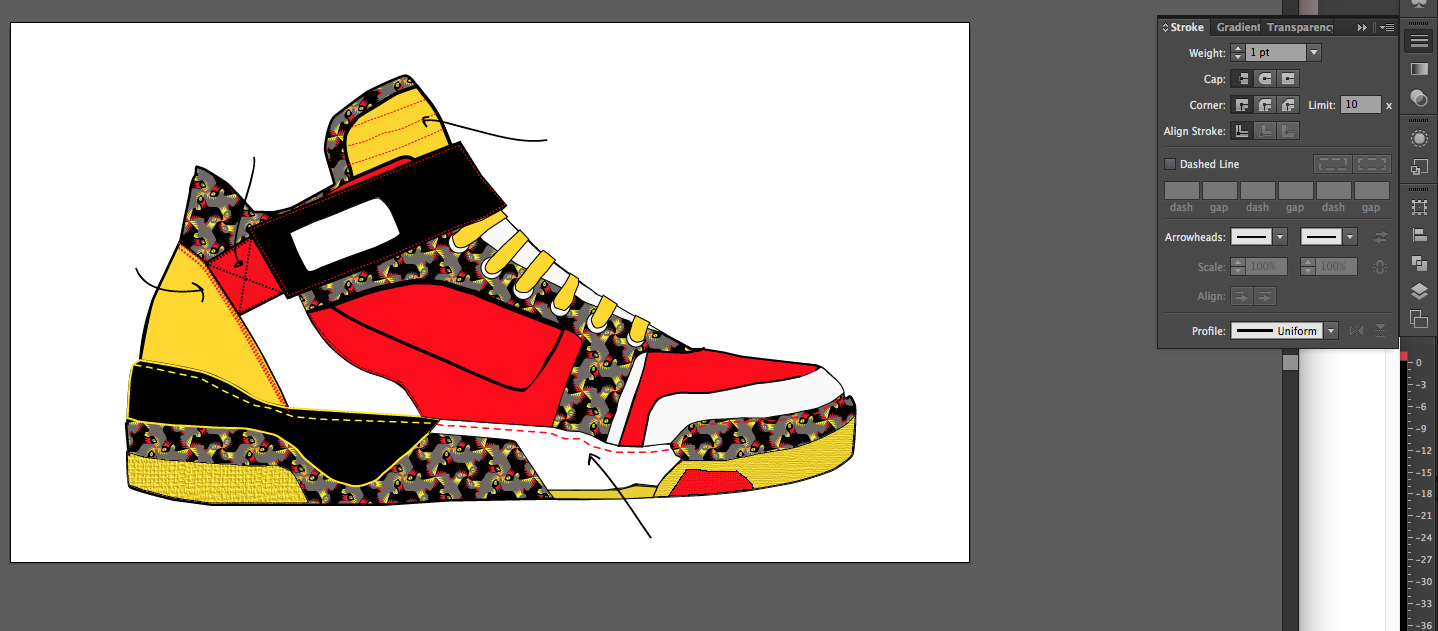
STEP 6 - Once you are happy with your combo of colors, gradients and patterns - begin adding the stitching.
To do this:
1. Go to the stroke button on the right side of your screen. The red arrow is pointing at the button below
2. Select Dashed Line so there is a check mark next to it
3. Change the weight, dash and gap pt to your liking.
STEP 7 - ADD TEXTURE
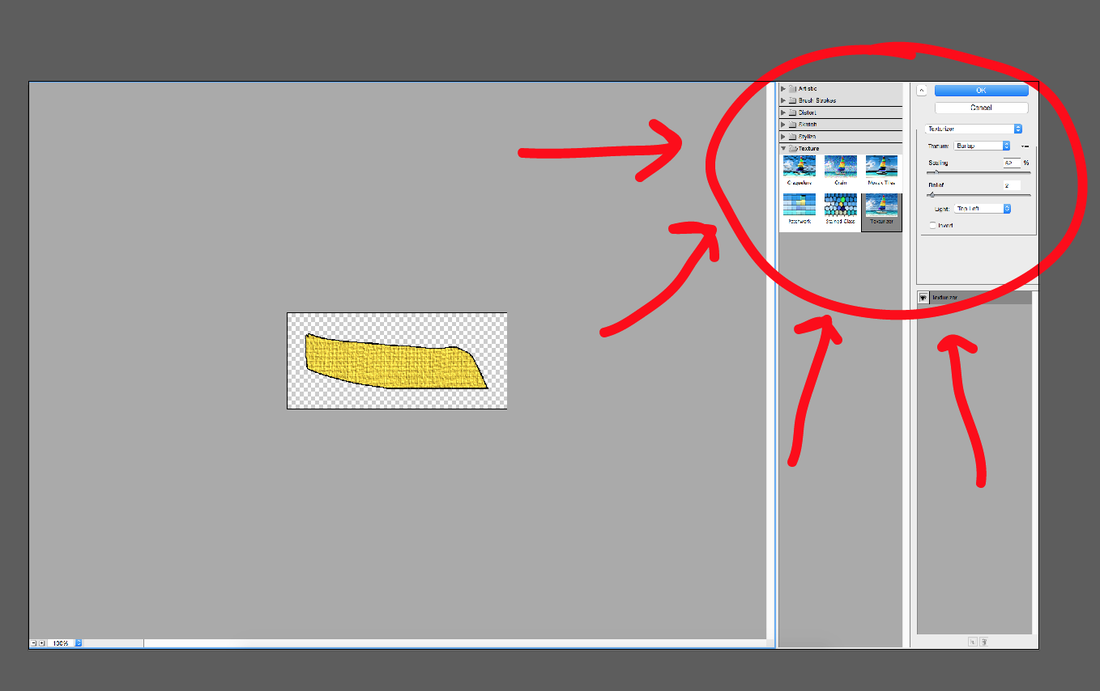
|
<--- |
