LOGO DESIGN
You will design an effective logo for a fictitious restaurant or musical group of your choosing. The process of logo design will be emphasized as much as the end result.

You will be working on this project for about 7 class periods.
STEP 1 - TYPE OF BUSINESS
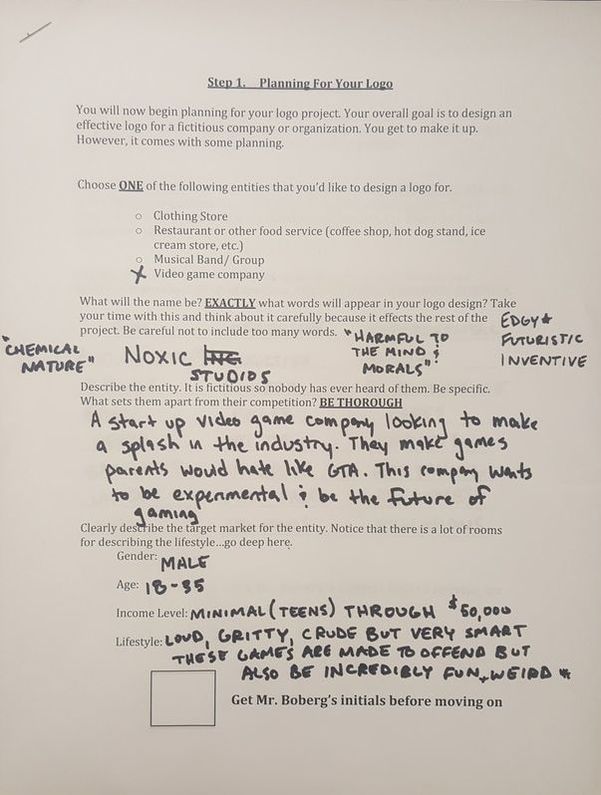
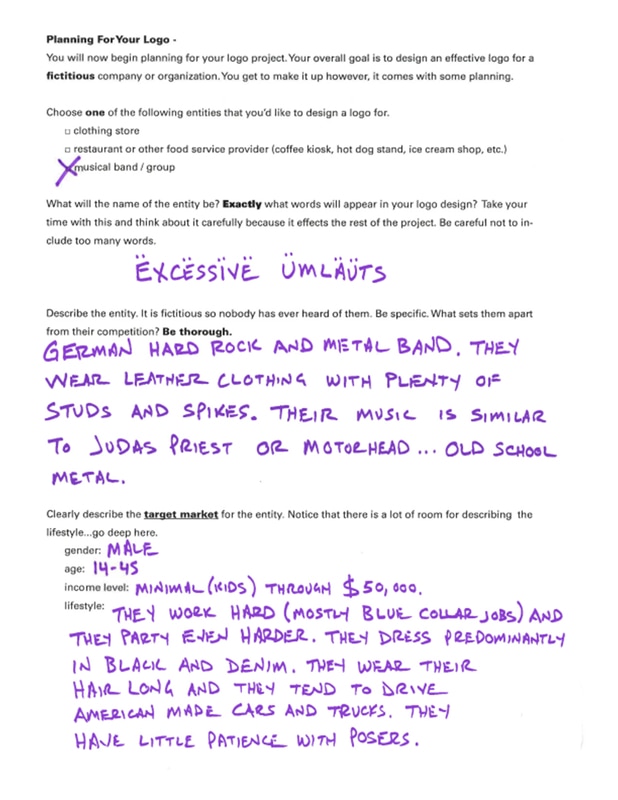
1. You will design a logo for a fictitious clothing store, restaurant, or musical group.
2. Create a name for the entity.
3. Describe what this entity does. Who are they? Be clear because nobody has ever heard of them before.
4. Clearly describe their target market. Include information on their gender, age, lifestyle and socio-economic status.
2. Create a name for the entity.
3. Describe what this entity does. Who are they? Be clear because nobody has ever heard of them before.
4. Clearly describe their target market. Include information on their gender, age, lifestyle and socio-economic status.
|
|
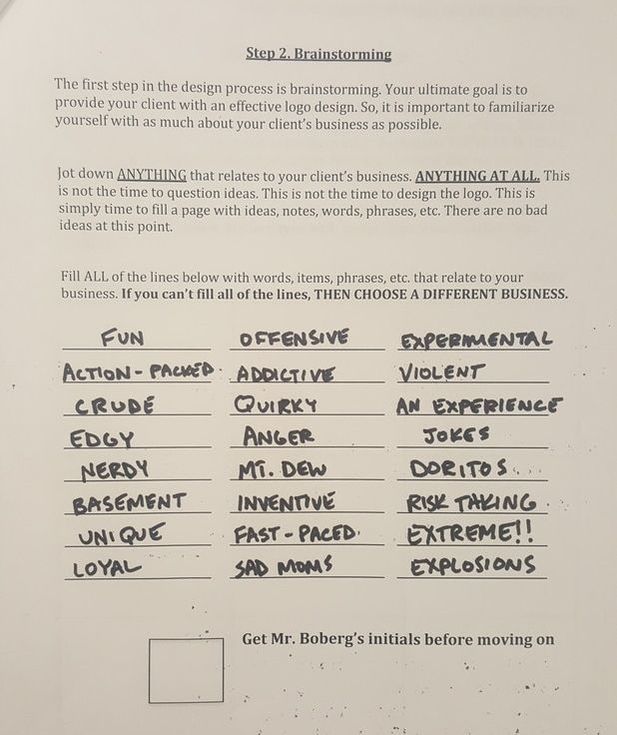
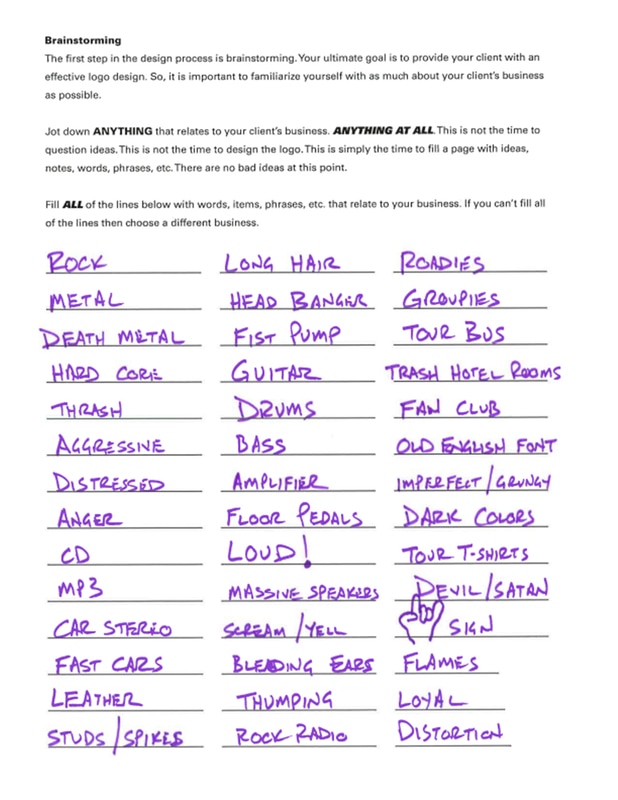
STEP 2 - BRAINSTORM
List as many things that relate to the entity as possible. There are no wrong answers at this point. Brainstorm! Use the internet. Ask friends. Ask your parents. The more you come up with, the easier the next step will be!
|
|
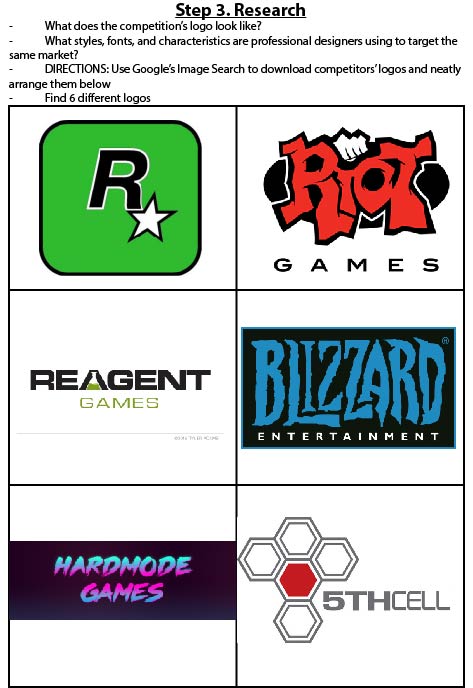
STEP 3 - RESEARCH
What does the competition's logo look like? Compile competitors' logos to feel confident that you understand what appeals to the target market.
Download the research Illustrator template.
Download the research Illustrator template.
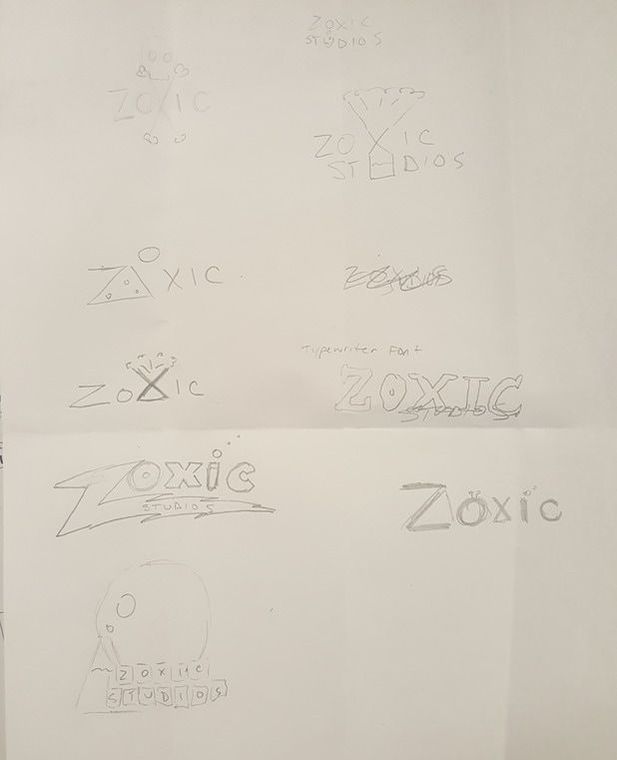
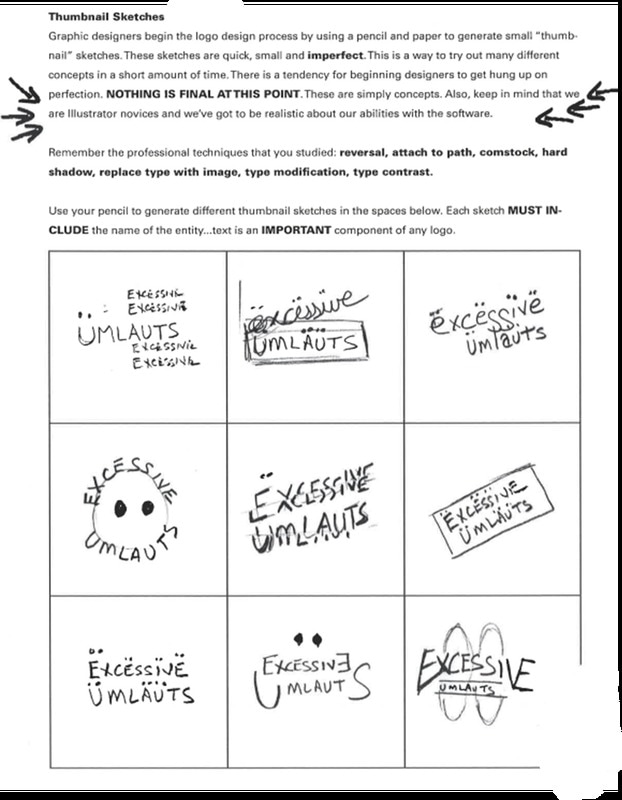
STEP 4 - THUMBNAIL SKETCHES
Thumbnail sketches are small (thus the name 'thumbnail') and quick. The emphasis is on the logo CONCEPT as opposed to the drawing ability.CONCEPT, CONCEPT, CONCEPT!
Remember to keep your concepts SIMPLE! Text is a vital element of a logo design so don't forget about it.
Remember the professional techniques that you clipped out of magazines: reversal, attach to path, comstock (offset path), hard shadow, replace type with image, type modification, & type contrast.
EXTRA CREDIT will be awarded for generating more thumbnails than are required.
|
|
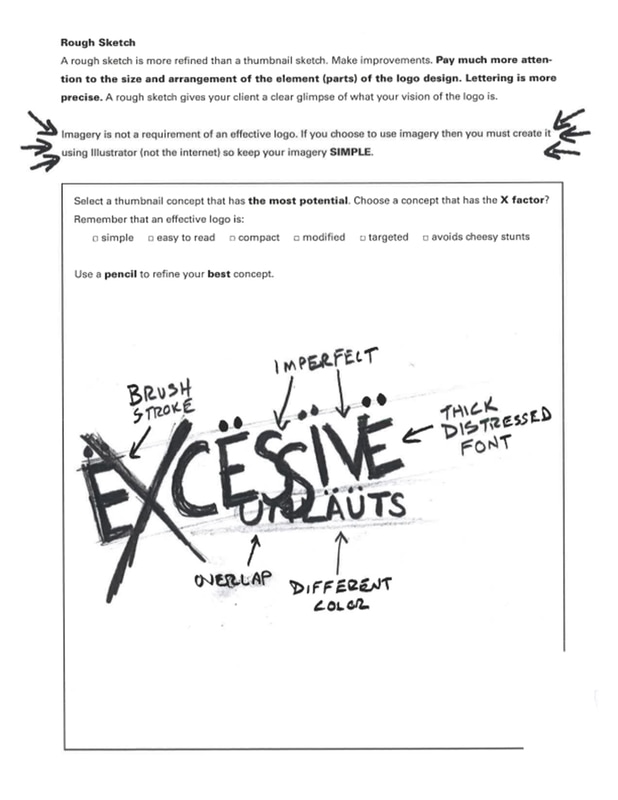
STEP 5 - ROUGH SKETCH
Narrow down your thumbnail sketches to the concept with the most potential. You will be dating this concept exclusively from now on. Choose a concept that is creative and follow the rules of effective logo design.
Use a pencil to refine the concept so that it clearly communicates your ideas to your client. Drawings don't need to be perfect, but they do need to account for placement, proportions and clarity. Imagery is not a requirement, but if you choose to use imagery then make sure that you can create it yourself using Illustrator.
Show your rough sketch to Mr. Eagen before going on to the next step.
EXTRA CREDIT will be awarded for doing an additional rough sketch for a different concept.

|
|
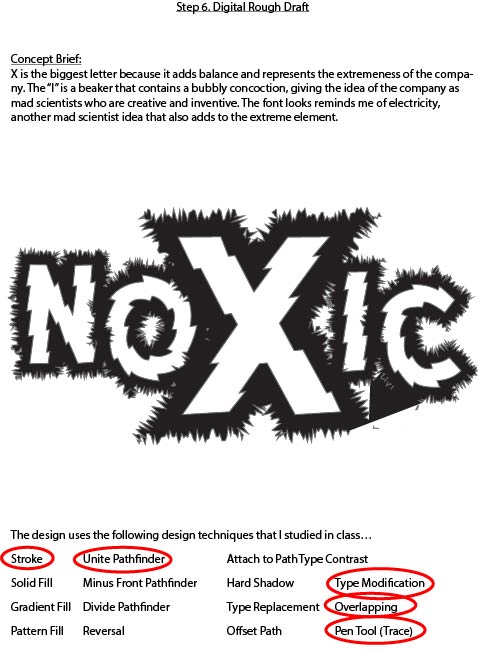
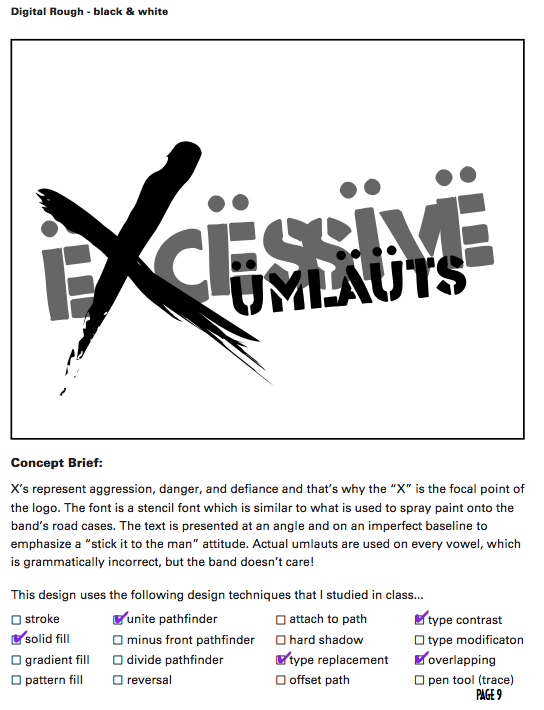
STEP 6 - DIGITAL ROUGH DRAFT
Download the digital rough draft Illustrator template.
Use your Illustrator skills to create a digital version of your rough sketch concept. Explore fonts. Carefully consider text size and placement.
Design in black and white for now.
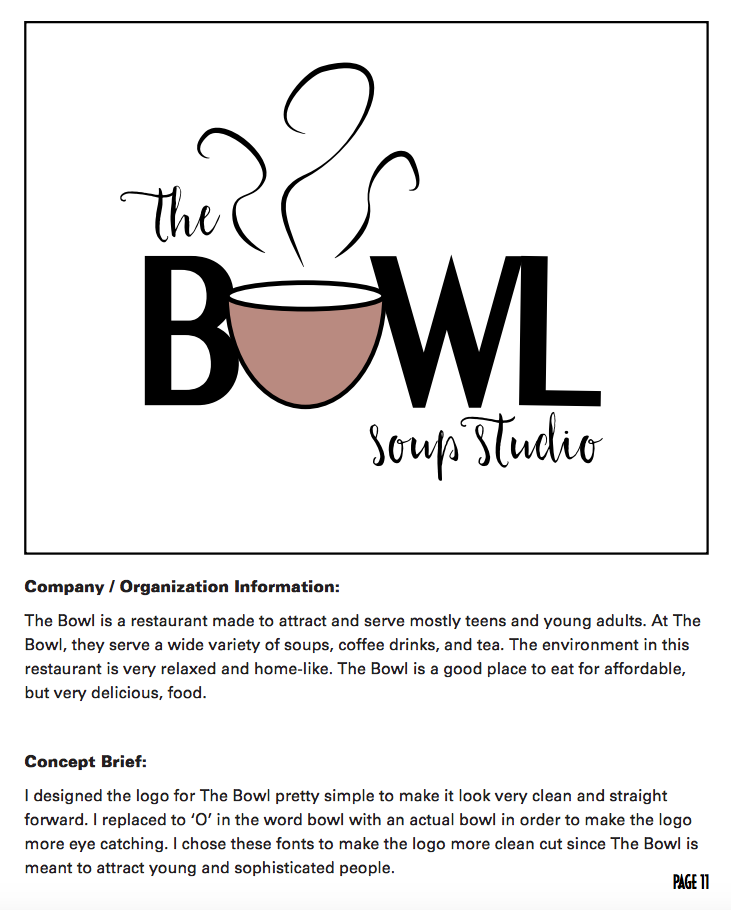
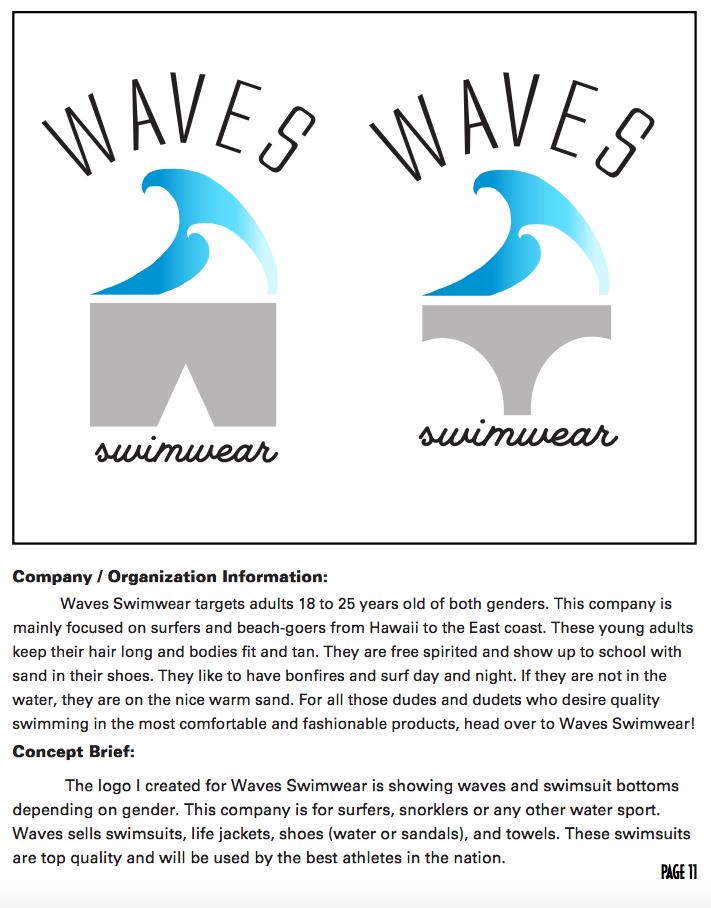
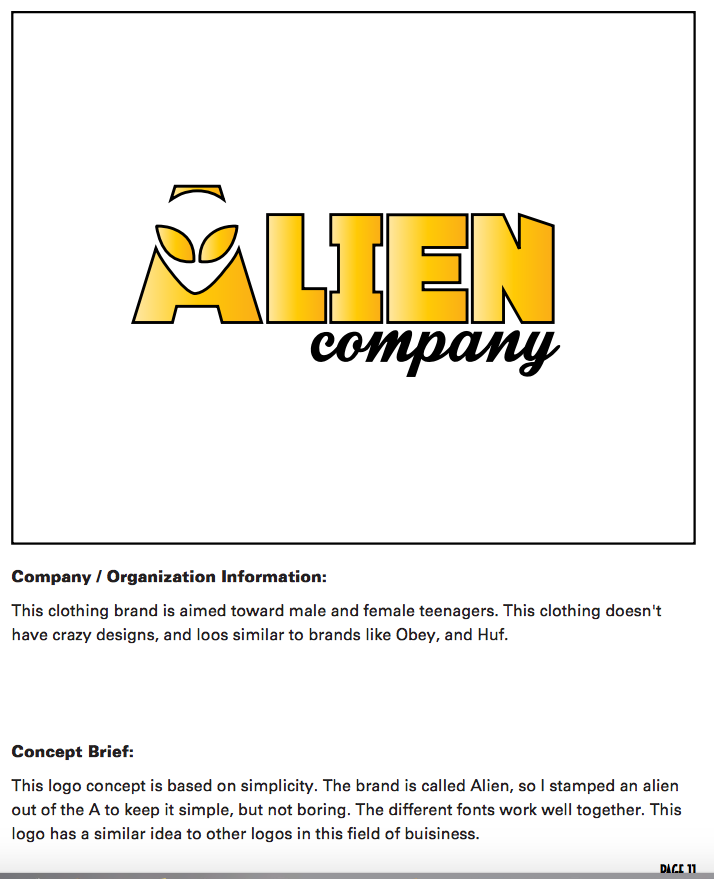
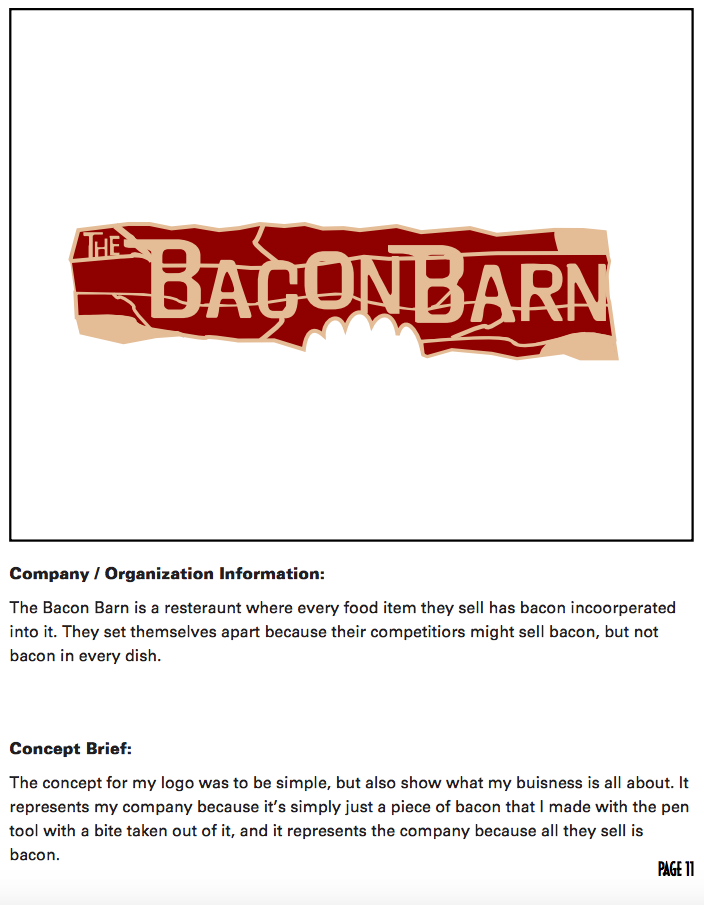
Concept Brief: Briefly explain the overall concept of your logo. Explain WHY you designed the logo concept the way you did. 50-75 words.
Use your Illustrator skills to create a digital version of your rough sketch concept. Explore fonts. Carefully consider text size and placement.
Design in black and white for now.
Concept Brief: Briefly explain the overall concept of your logo. Explain WHY you designed the logo concept the way you did. 50-75 words.
| logo_digital_roughs.ai |
|
|
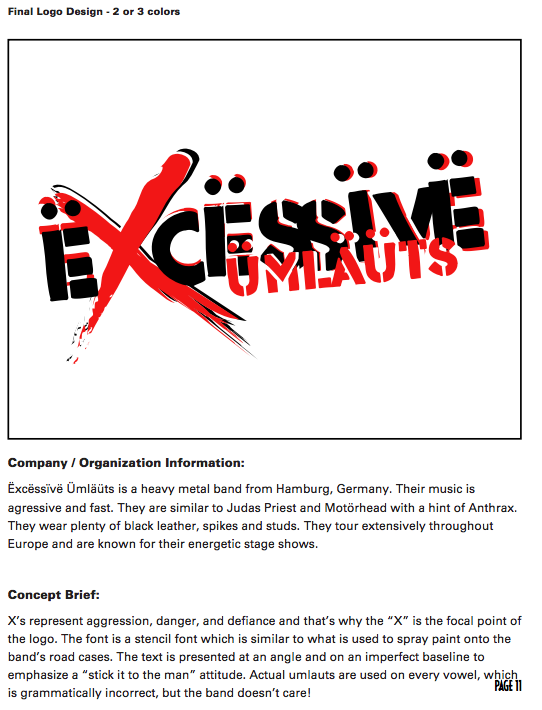
STEP 7 - FINAL
Finalize the logo. This is the place to fine tune it. Attention to detail is key. Nail down exact colors. The final logo is a 2 or 3 color design...not 1 color, not 4 colors.
Layout and placement are very important because this is the logo that will be locked down for all future uses.
Present the final logo design neatly. Allow for breathing room within the space.
Print the page, and THEN use a pen to complete the checklist.
Download the checklist below
Layout and placement are very important because this is the logo that will be locked down for all future uses.
Present the final logo design neatly. Allow for breathing room within the space.
Print the page, and THEN use a pen to complete the checklist.
Download the checklist below
| logo_final_checklist__1_.ai |
Neatly present your logo in large and small formats. This page will be displayed
Don't forget to enter your name in the top right section.
Background Information: Briefly explain who the band/restaurant is. Who is their target market? You have ALREADY DONE THIS! Refer back to day 1.
Print final logo
Download the Final Logo Presentation Illustrator template.
Don't forget to enter your name in the top right section.
Background Information: Briefly explain who the band/restaurant is. Who is their target market? You have ALREADY DONE THIS! Refer back to day 1.
Print final logo
Download the Final Logo Presentation Illustrator template.
| logo_final__1_.ai |

|
|
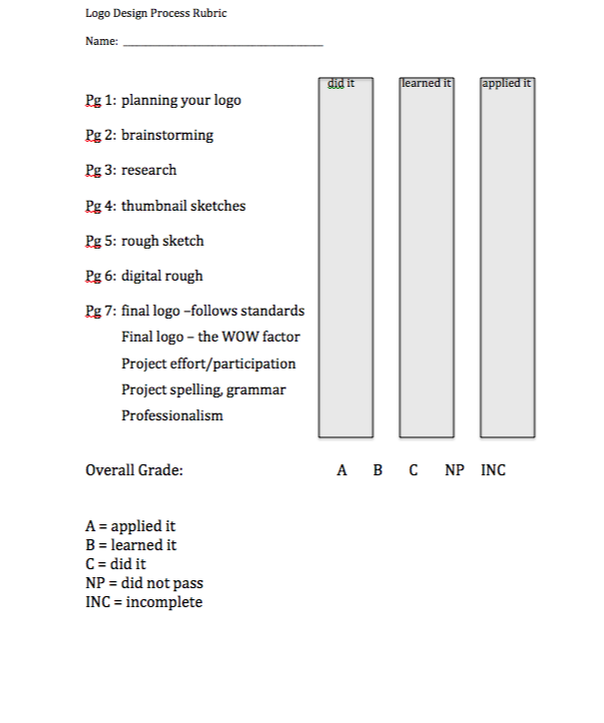
RUBRIC
OTHER EXAMPLES