LAYER MASKING

Assignment: Recreate the photo above using the layer masking tools you just learned.
After recreating the poster, create your own poster using a background 3 characters or people, and title of your choice. Make it look similar to the first one you recreated.
STEP 1
Download the project
| fortnite.psd |
STEP 2
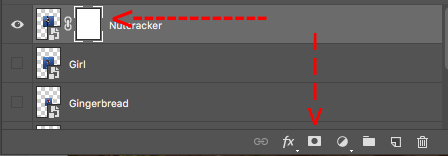
Click on the Add Layer Mask icon at the bottom of the Layers palette.
A white Layer Mask is now added next to the picture of the layer you selected
A white Layer Mask is now added next to the picture of the layer you selected
STEP 3
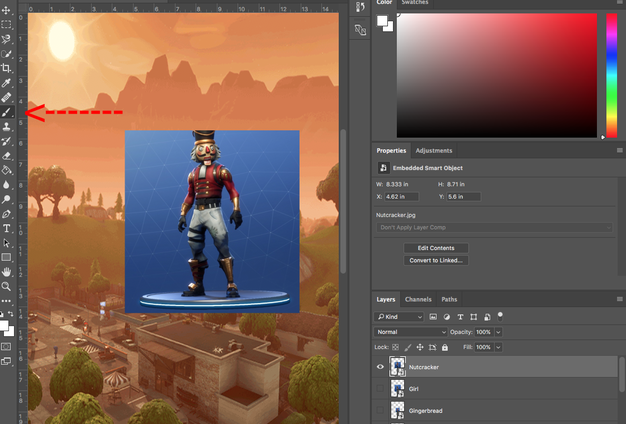
Select the Brush Tool
TIP - SELECT THE BRUSH TOOL BY HITTING THE LETTER B ON YOUR KEYBOARD.
TIP - SELECT THE BRUSH TOOL BY HITTING THE LETTER B ON YOUR KEYBOARD.
STEP 4

|
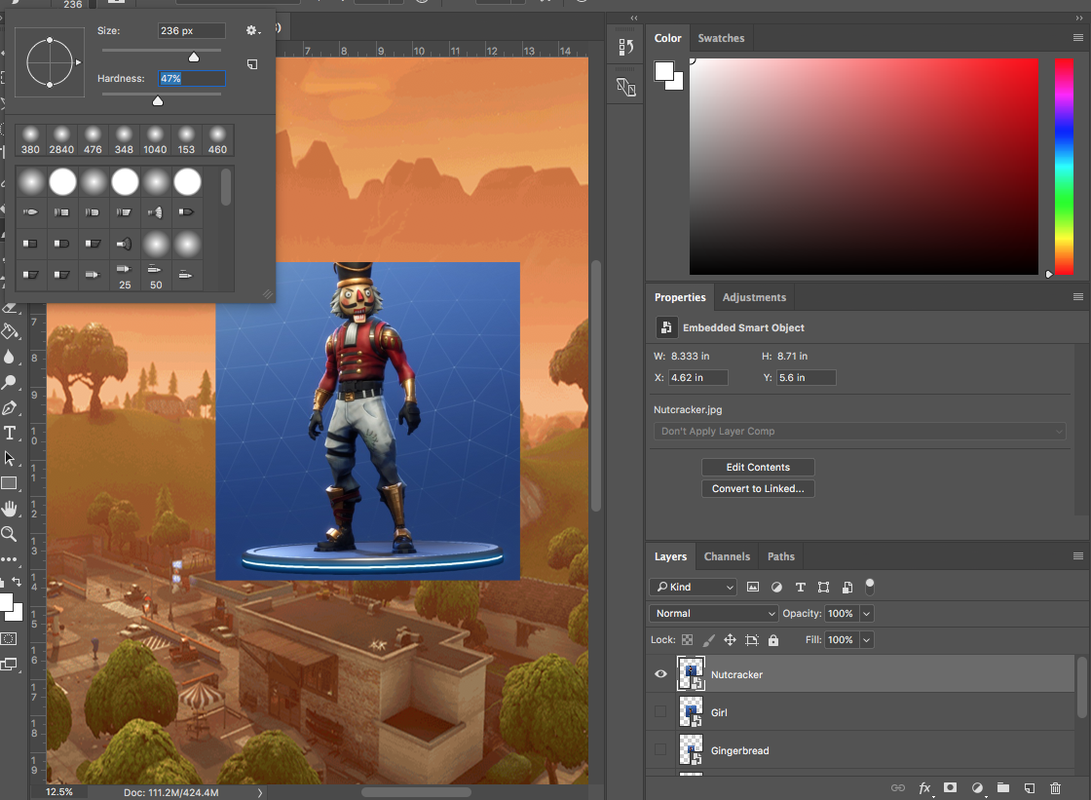
You need to paint with BLACK as the foreground color to see the pixels of the clouds appear.
Select your brush size, as well as brush hardness. 90% hardness works very well |
STEP 5
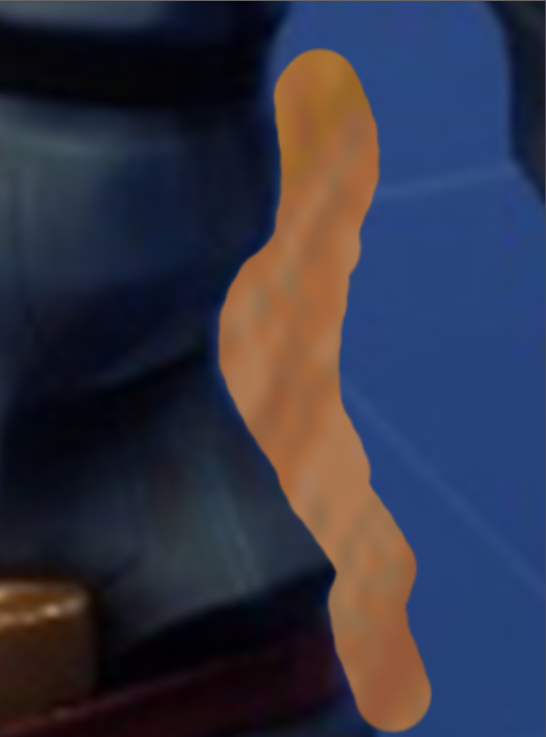
Paint around the character. You will see blue disappear
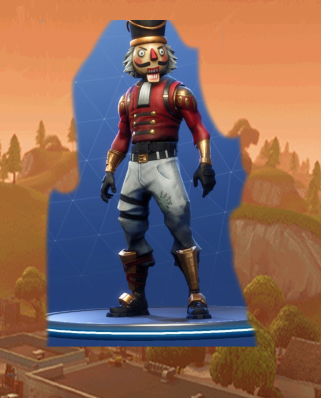
Using the Magnifying Glass, or holding the alt key and scrolling with your mouse, zoom in and use a small brush to do a precise job along the edges to make sure the blue is out
STEP 6
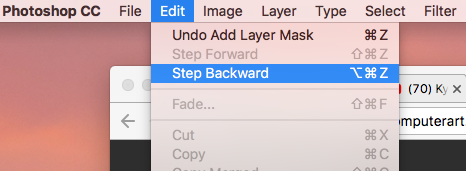
Remember, if .you mess up, go to Edit > Step Backward
STEP 7
Create your own poster. Then export both into the Google Classroom
