LIGHTING PART 1 - ONE LIGHT BASICS
Description:
3 students per group.
Each person in the group needs to have a job (setting up the lighting, working the camera, or being the “talent”).
You will then switch for each shot
Points off if overexposed or underexposed or out-of-focus.
One person will save all of the footage on their computer.
All members will create their own video
Make sure to rotate jobs for each shot
Record each of the following shots for 5 seconds:
Basics:
1. Classroom Fluorescents
a. Title: Natural Lighting
2. Front Light
3. Beauty Light
4. Side Light
5. Underlight
6. Side Light
7. Edge Light
8. Back Light
Sequence (AVCHD 1080p24) and Import your videos into Premiere Pro
Create a title frame to say Lighting Lab and your group members
Edit in order listed above
Use a lower-third (create a title and put it in the lower third of the frame) for each shot labeling each shot
Export with H.264 settings
Label Project – “period-lastname(s)-lightinglab”
Send to Google Classroom
LIGHTING PART 2 - HORROR LIGHTING
Description:
3 students per group.
Each person in the group needs to have a job (setting up the lighting, working the camera, or being the “talent”).
Camera Operator needs to double check the focus and the exposure for each shot.
Points off if overexposed or underexposed or out-of-focus.
One person will save all of the footage on their computer.
All members will create their own video
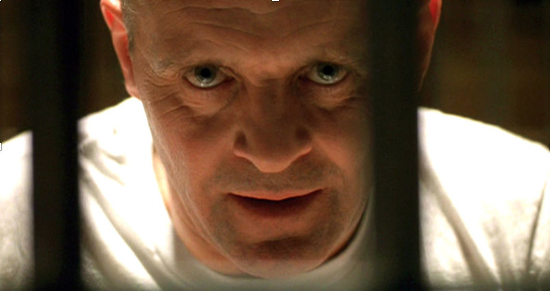
For this assignment, you and your group will be creating several lighting setups that demonstrate your ability to create dramatic lighting effects for your film. Remember – in horror, less is more, so you will want to avoid High Key, or brightly lit, setups. Leave something to the viewer’s imagination!
If your location is already brightly lit, turn your camera’s exposure down and use brighter or closer lights.
Assignment:
With your groups, you will need to create four different lighting setups in the location(s) of your choice. Give your actors something to do and/or say in the shot. They should not be boring! Make them scary! Use any costumes or props you need.
Each clip should be at least 10 seconds long. When you finish, put all four in Premiere and export as one video file.
Consider the following techniques:
Each person in the group needs to have a job (setting up the lighting, working the camera, or being the “talent”).
Camera Operator needs to double check the focus and the exposure for each shot.
Points off if overexposed or underexposed or out-of-focus.
One person will save all of the footage on their computer.
All members will create their own video
For this assignment, you and your group will be creating several lighting setups that demonstrate your ability to create dramatic lighting effects for your film. Remember – in horror, less is more, so you will want to avoid High Key, or brightly lit, setups. Leave something to the viewer’s imagination!
If your location is already brightly lit, turn your camera’s exposure down and use brighter or closer lights.
Assignment:
With your groups, you will need to create four different lighting setups in the location(s) of your choice. Give your actors something to do and/or say in the shot. They should not be boring! Make them scary! Use any costumes or props you need.
Each clip should be at least 10 seconds long. When you finish, put all four in Premiere and export as one video file.
Consider the following techniques:
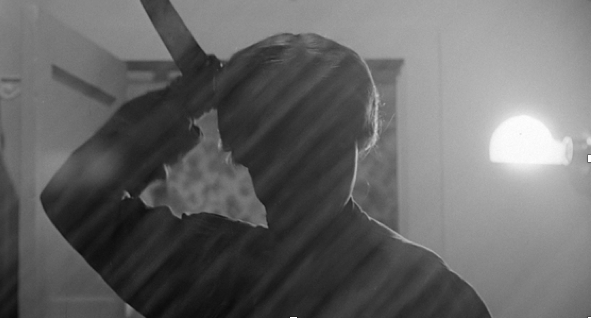
- Silhouette
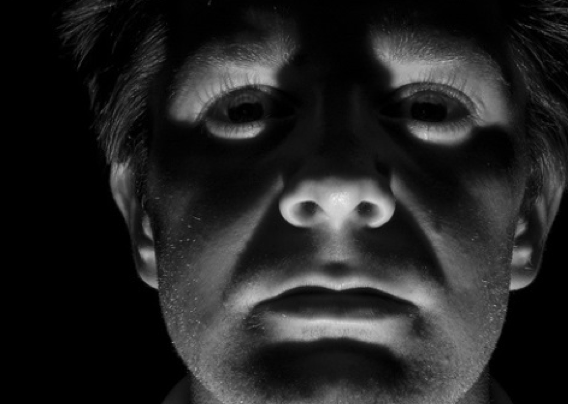
- Facial Lighting from below (ghost story lighting)
- Character is shadow – not actually onscreen
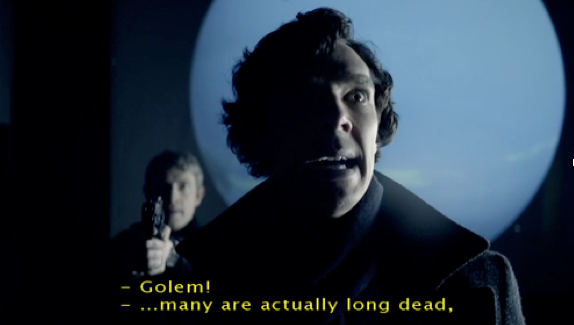
- Use strong colors – GELS!
- Harsh shadows
- Use a single “slash” of light (use barn doors) to light one or more characters
- Use the DIMMERS in the light kits if you need to make a light pulsate or simply be less bright
|

|
|
|
|
Turning it in
Sequence (AVCHD 1080p24) and Import your videos into Premiere Pro
Create a title frame to say Lighting Lab and your group members
Edit in order listed above
Use a lower-third for each shot labeling each shot
Export with H.264 settings
Label Project – “period-lastname(s)-horror lighting”
Send to Google Classroom
Create a title frame to say Lighting Lab and your group members
Edit in order listed above
Use a lower-third for each shot labeling each shot
Export with H.264 settings
Label Project – “period-lastname(s)-horror lighting”
Send to Google Classroom
