Principles of Arts, A/V & Communications
*SCROLL DOWN FOR BELL WORK*
|
|
UNITS0. Intro Week
|
------BELL WORK------
Friday, May 17 2018
Monday, May 14 2018
Monday, May 7 2018
Monday, April 30 2018
Once you bring your video back from After Effects, watch each video below in order and follow along
1. What is Digital Juice? And Backgrounds
2. Lower Thirds
3. Wipes
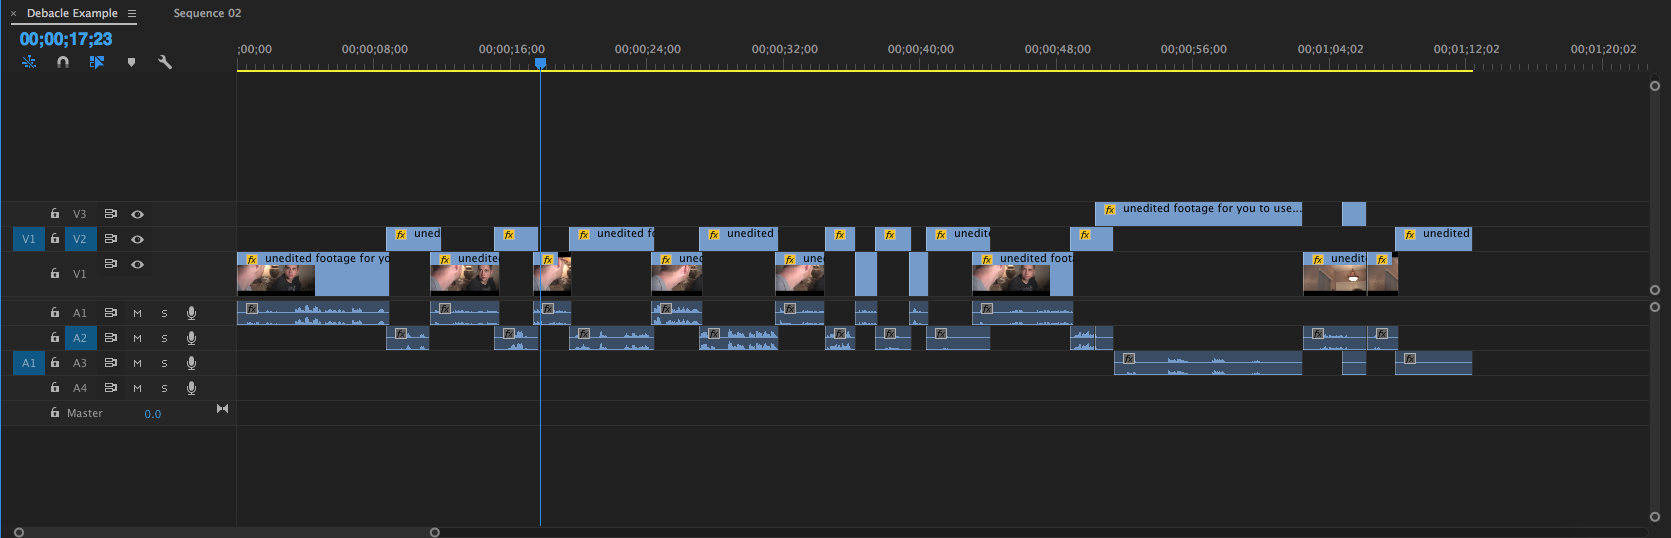
Read the following directions carefully:
1. Edit your green screen video just like it was scripted. Do NOT put b roll in your video yet.
2. Once edited, export your video
3. Drag your video into After Effects
4. Watch the video below. It will walk you through how to "key out" your green screen, or remove the green screen. Follow the directions carefully!
5. After you key out your green screen, export the video correctly and drop it back into Premiere.
6. Show Mr. Boberg when you finish. Do not continue.
Tuesday, April 24 2018
I Am Presenting Today |
I am not presenting today: |
|
|
|
|
|
Thursday, April 19 2018
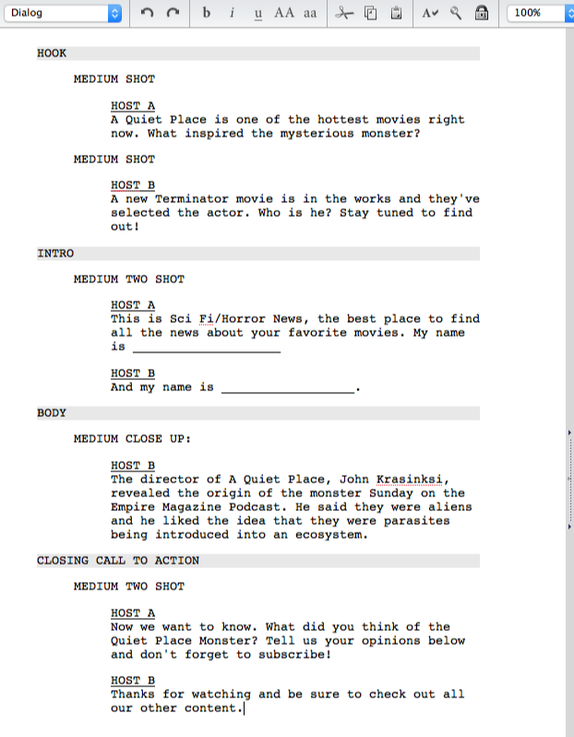
- Each partner create own script in Celtx
- Open Celtx.
- Open Celtx.

- Select Audio-Visual
- Create in template example below:
Tuesday, April 17 2018
Monday, April 16 2018
Tuesday, April 10 2018
Assignment:
You will create 4 different "moments" that turn into one video
1. First, download 4 videos of your choice, but make sure they are the following:
-A sporting event
- Concert/music video
- Presidential Speech/News Story
- Movie Scene
Use bigconverter.com for your YouTube downloader
Drop the clips into After Effects and make each clip :5 seconds
2. Then, key out the zebra for each video.
Must use the following effects we have learned to put zebras in different situations like the video above...
position (move him somewhere)
scale (make him bigger or smaller)
rotation (move him so he isn't just up and down)
duplication (make multiple copies of him)
Video should total :20
Export and turn into Google Drive Folder when finished
Go to composition > add to render que > click the blue output name and save in folder > render > turn into Google Folder
Due End of Wednesday
Examples:
| Green Screen Zebra.mp4 |
Monday, April 9 2018
Wednesday, April 4 2018
ASSIGNMENT - Fly By Title
Directions:
Follow along the video
This will be due Friday
Requirements:
Your video should look as close as the video as you can
Text
4 Words of Your Choice
Any color - background and text color
Any Font - but make it the same font the entire video
Animation
Just like video - Words animate into frame, then get smaller and fade out
Shake
Vignette
Black circle that blends in around text
Export into your Google Drive
Composition > Add to Render Que > Click on your Output Name > Save in Doc Folder > Render
Monday, April 2 2018
Watch the video below. Take notes, then fill out the Google Form.
When you finish, follow the directions on the 2nd handout.
Use the video below as a reference
When you finish, follow the directions on the 2nd handout.
Use the video below as a reference
Reference Video:
Wednesday March 27 2018
Tuesday, March 26 2018
Watch this video first
Watch this video 2nd
Tuesday, March 2018
Finish Step 1 if you haven't already. It was due yesterday.
Step 2 and 3 are due today
Step 4 will be due tomorrow
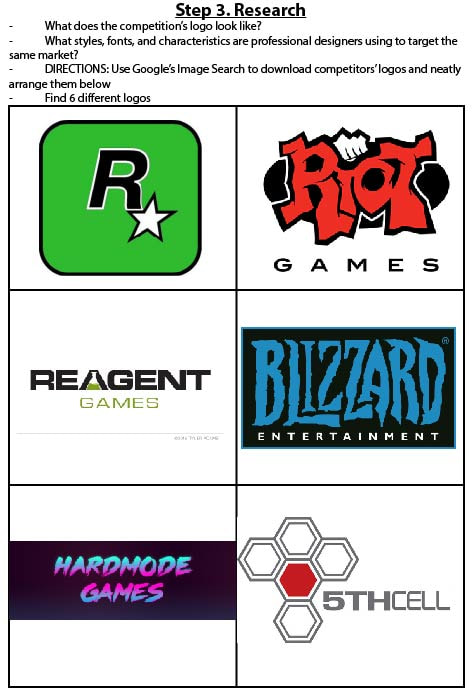
Step 3 is found below. Download the file
If you finish 3, ask Mr. Boberg for Step 4
Step 2 and 3 are due today
Step 4 will be due tomorrow
Step 3 is found below. Download the file
If you finish 3, ask Mr. Boberg for Step 4
| step_3._research_paper.ai |
Example:
Monday , March 19 2018
Wednesday, March 7 2018
Assignment: Create at least 3 short phrase designs which demonstrate proficiency with altering "donut" letters as well as "biting" letters.
Demonstrate multiple examples in each word.
_ Combine skills (pathfinders, gradients, rotation, etc.)
_ Demonstrate the same shape being punched out (minus front) of neighboring letters similar to the JUMP example.
_ This is also a DESIGN assignment so make it visually interesting
Download the file below:
| assignment_advanced_outlining.ai |
Tuesday, March 6 2018
Assignment:
|
Example: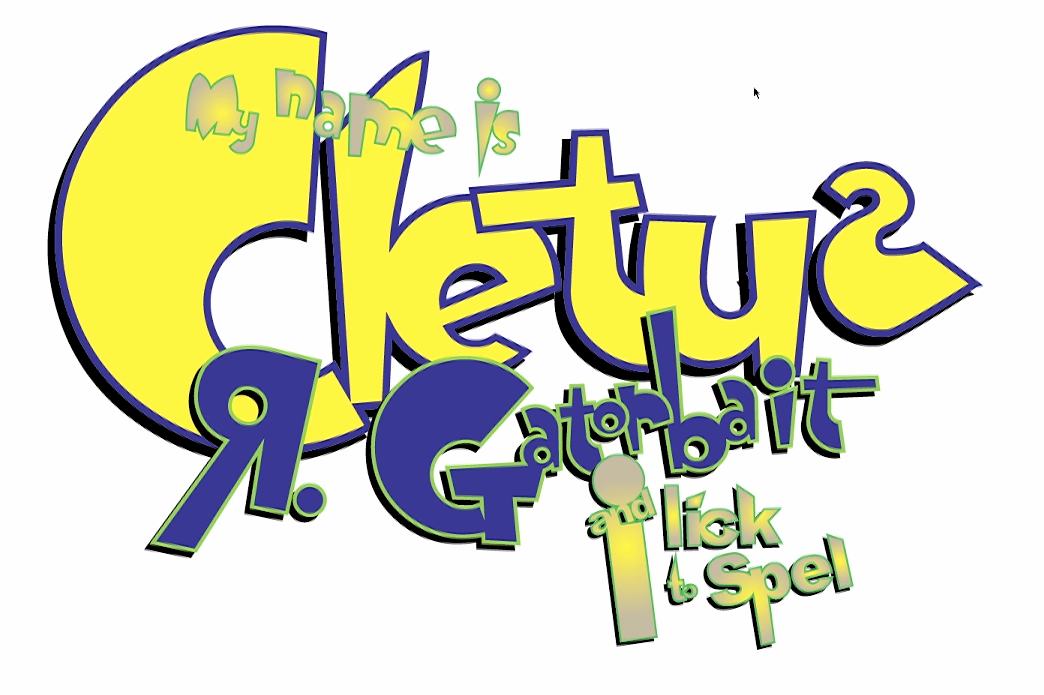
|
Friday, March 2 2018
Assignment:
Copy the design below. But you may use any fonts, colors, song lyrics, and picture you want.
To get credit:
Demonstrate all of the skills presented in the "type on a path" tutorials.
_ Demonstrate type that appears to be on top and on bottom of the same shape.
_ Show a wide variety of fonts, font sizes & weights, colors.

Tuesday, February 27 2018
Assignment:
Create a design of your choice using just text. That means you can create the American Flag if you want. Here's a link to a random text generator so you don't have to think too much about what you are actually typing.
1. Create a new paper that is 8.5x11 inches.
2. Show BOTH methods of getting type on the paper.
_ SERIOUSLY! Show BOTH methods of getting type on the paper...one will allow you to distort...so do so.
3. Show a wide variety of fonts & weights, colors and sizes.
4. Show single words, show paragraphs.
5. Show all alignments (right, center, left).
6. Show different tracking (open letter spacing & tight letter spacing) and leading (line spacing).
7. Show different leading (open line spacing & tight line spacing).
8. Remember that you know how to rotate, reflect, & shear.
I expect you to take your time on this one!
Monday, February 26 2018
Assignment:
1. Download the file
2. In the first row, create 5 designs using the unite pathfinder
3. In the second row, create 5 designs using the minus front pathfinder
4. In the third row, create 5 designs using the divide pathfinder
5. Be creative
| assignment_pathfinders.ai |
Thursday, February 22 2017
PART I: UNIT 6 VIDEO AND GOOGLE FORM
Assignment: Download the Illustrator Project below and make the adjustments you learned above
| assignment_transformation.ai |
PART II: UNIT 7 - HOUSEKEEPING
ASSIGNMENT: **follow directions below**
|
Create a new file (8.5" x 11").
_ Put guidelines at the exact vertical and horizontal centers of the paper. _ Put guidelines at 1/4" from all four edges. _ Copy and paste ANY of the clip art images from a previous assignment onto this page. _ Switch to X-Ray (outline) mode. Finish in X-Ray mode. |
Should look something like this when you finish: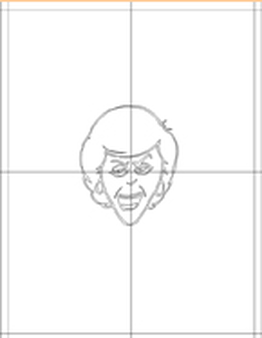
|
Tuesday, February 20 2017
Watch the video below and take notes, then take the Google Form quiz
Watch the video below to find out what the assignment is
Click here to download the assignment -----> |
| ||
|
Assignment requirements:
Each head must have a variety of different faces, colors, patterns and gradients |
Example: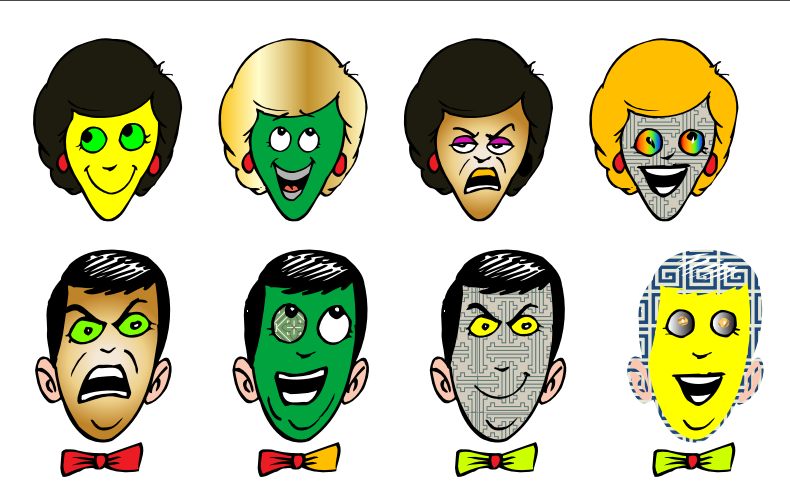
|
Tuesday, February 12 2017
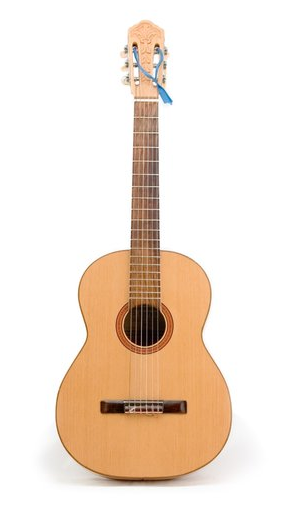
Assignment 1: Guitar
1. Download the guitar photo
2. Trace using the pen tool
3. Choose none for the fill.
4. Stroke should be a black, 2 pt line.
4. All lines should be smooth (curved). You'll likely need to try this several times.
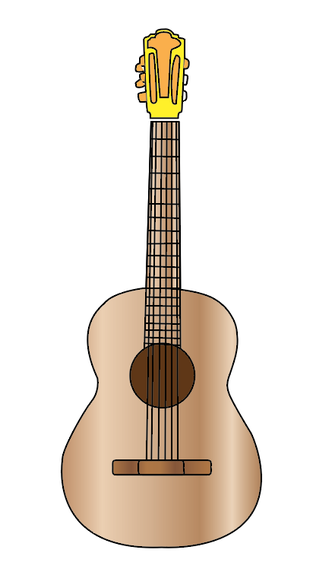
5. Close each shape so you can make it a color.
6. The final photo should somewhat look like the one below. You may experiment with colors, gradients and patterns
|
| ||
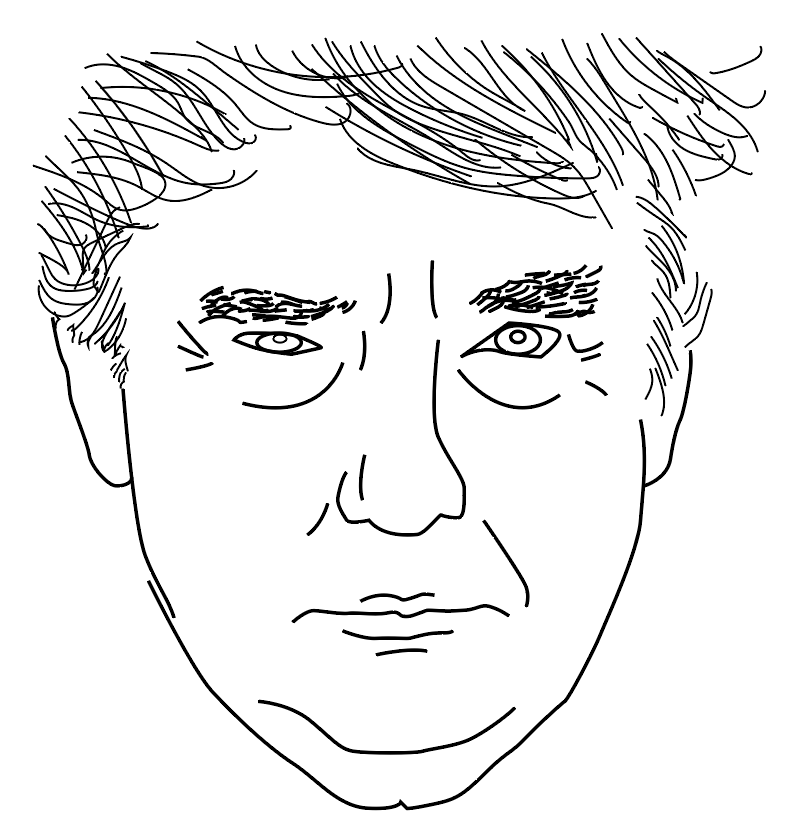
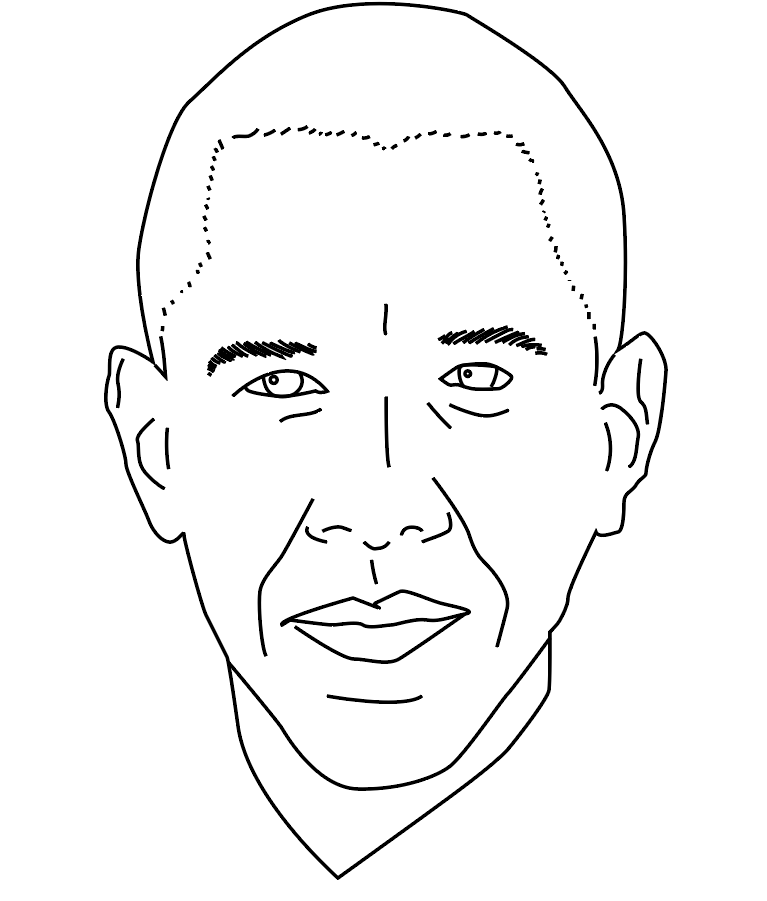
Assignment 2: Headshot
1. Find a head shot of anyone - you, a celebrity, athlete, etc
2. Using the line tool, brush tool, pen tool and pencil tool, create an outline of a head shot
3. You DO NOT have to color them
Below are some examples:
|
|
Thursday, February 8th 2017
Assignment Part I:
1. Open the file below and curve the lines just like the instructor in the first part of the video. Once this is approved by Mr. Boberg, continue with the video.
| pen_tool_curve_practice.ai |
Assignment Part II (Don't start this until you watched the full video above and did the Google Form!
Assignment 1 - instructions (click here to watch instructions)
_ Download the file of the heart.
_ Seriously, DUDE! Make sure that you begin by setting the fill color to none and the stroke to 3 pts and red.
_ Trace the heart using the pen tool.
_ ATTENTION: The line should be smooth (curved) and it should be one continuous line. You'll likely need to try this several times.
_ OK...I also know that you just ignored the previous instruction as well. So, please focus on tracing in one continual line.
_ Fill the heart in with pink.
Assignment 2 - instructions (click here to watch instructions)
_ Download the file of the doggie.
_ Seriously, DUDE! Make sure that you begin by setting the fill color to none and the stroke to 4pts. It will also help to give the stroke a color.
_ OK....so I know that you just ignored the previous instruction. Go back and read it, and be sure to do what it says.
_ Trace the doggie using the pen tool.
_ ATTENTION: The line should be smooth (curved) and it should be one continuous line. You'll likely need to try this several times.
_ OK...I also know that you just ignored the previous instruction as well. So, please focus on tracing in one continual line.
_ Continue tracing so that the shape goes right over (covers) the ear, nose and eye.
_ Fill the doggie in with a light color. Send it behind the ear.
Tuesday, February 6th 2017

Assignment:
Create a picture of an alien abduction. You may copy the one above or create your own.
REQUIREMENTS:
_ At least 20 Modified shapes using direct selection tool (white arrow)
_ Fill with a wide variety of different patterns and gradients.
_ Demonstrate a wide variety of stroke colors and thicknesses.
_ Demonstrate plenty of overlapping.
Monday, February 4th 2017
Assignment:
|

|
Friday, January 26 2017
Thursday, January 25 2017
Watch the video and take notes. This will be on a test in the future.
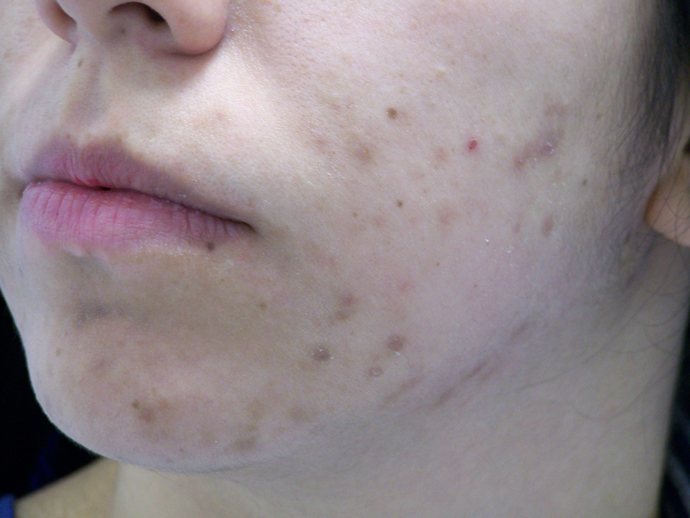
Assignment 1: Fix the "bad acne" photo. Show it to Mr. Boberg for credit.
| unit08bad_acne.jpg |
Example:

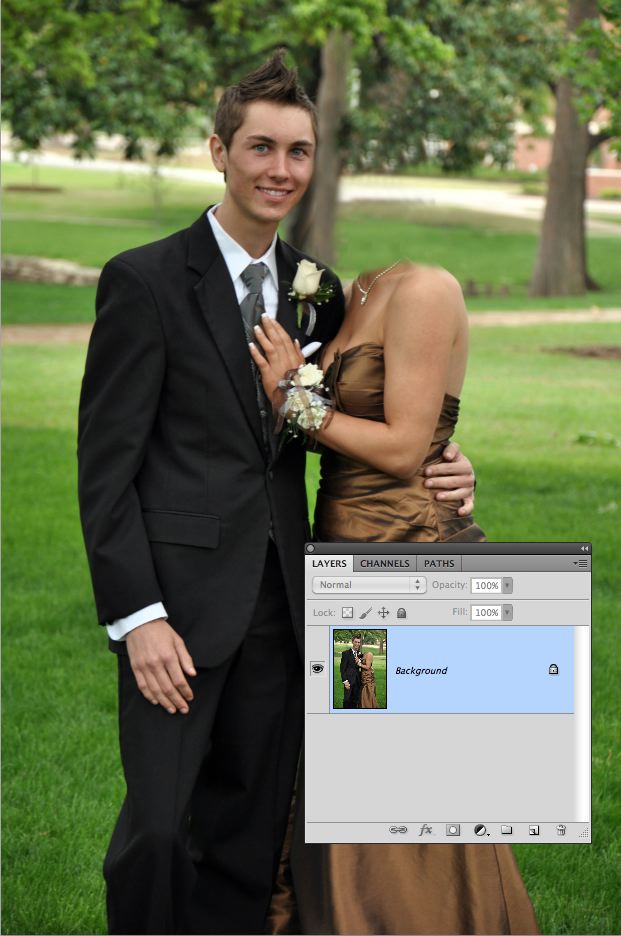
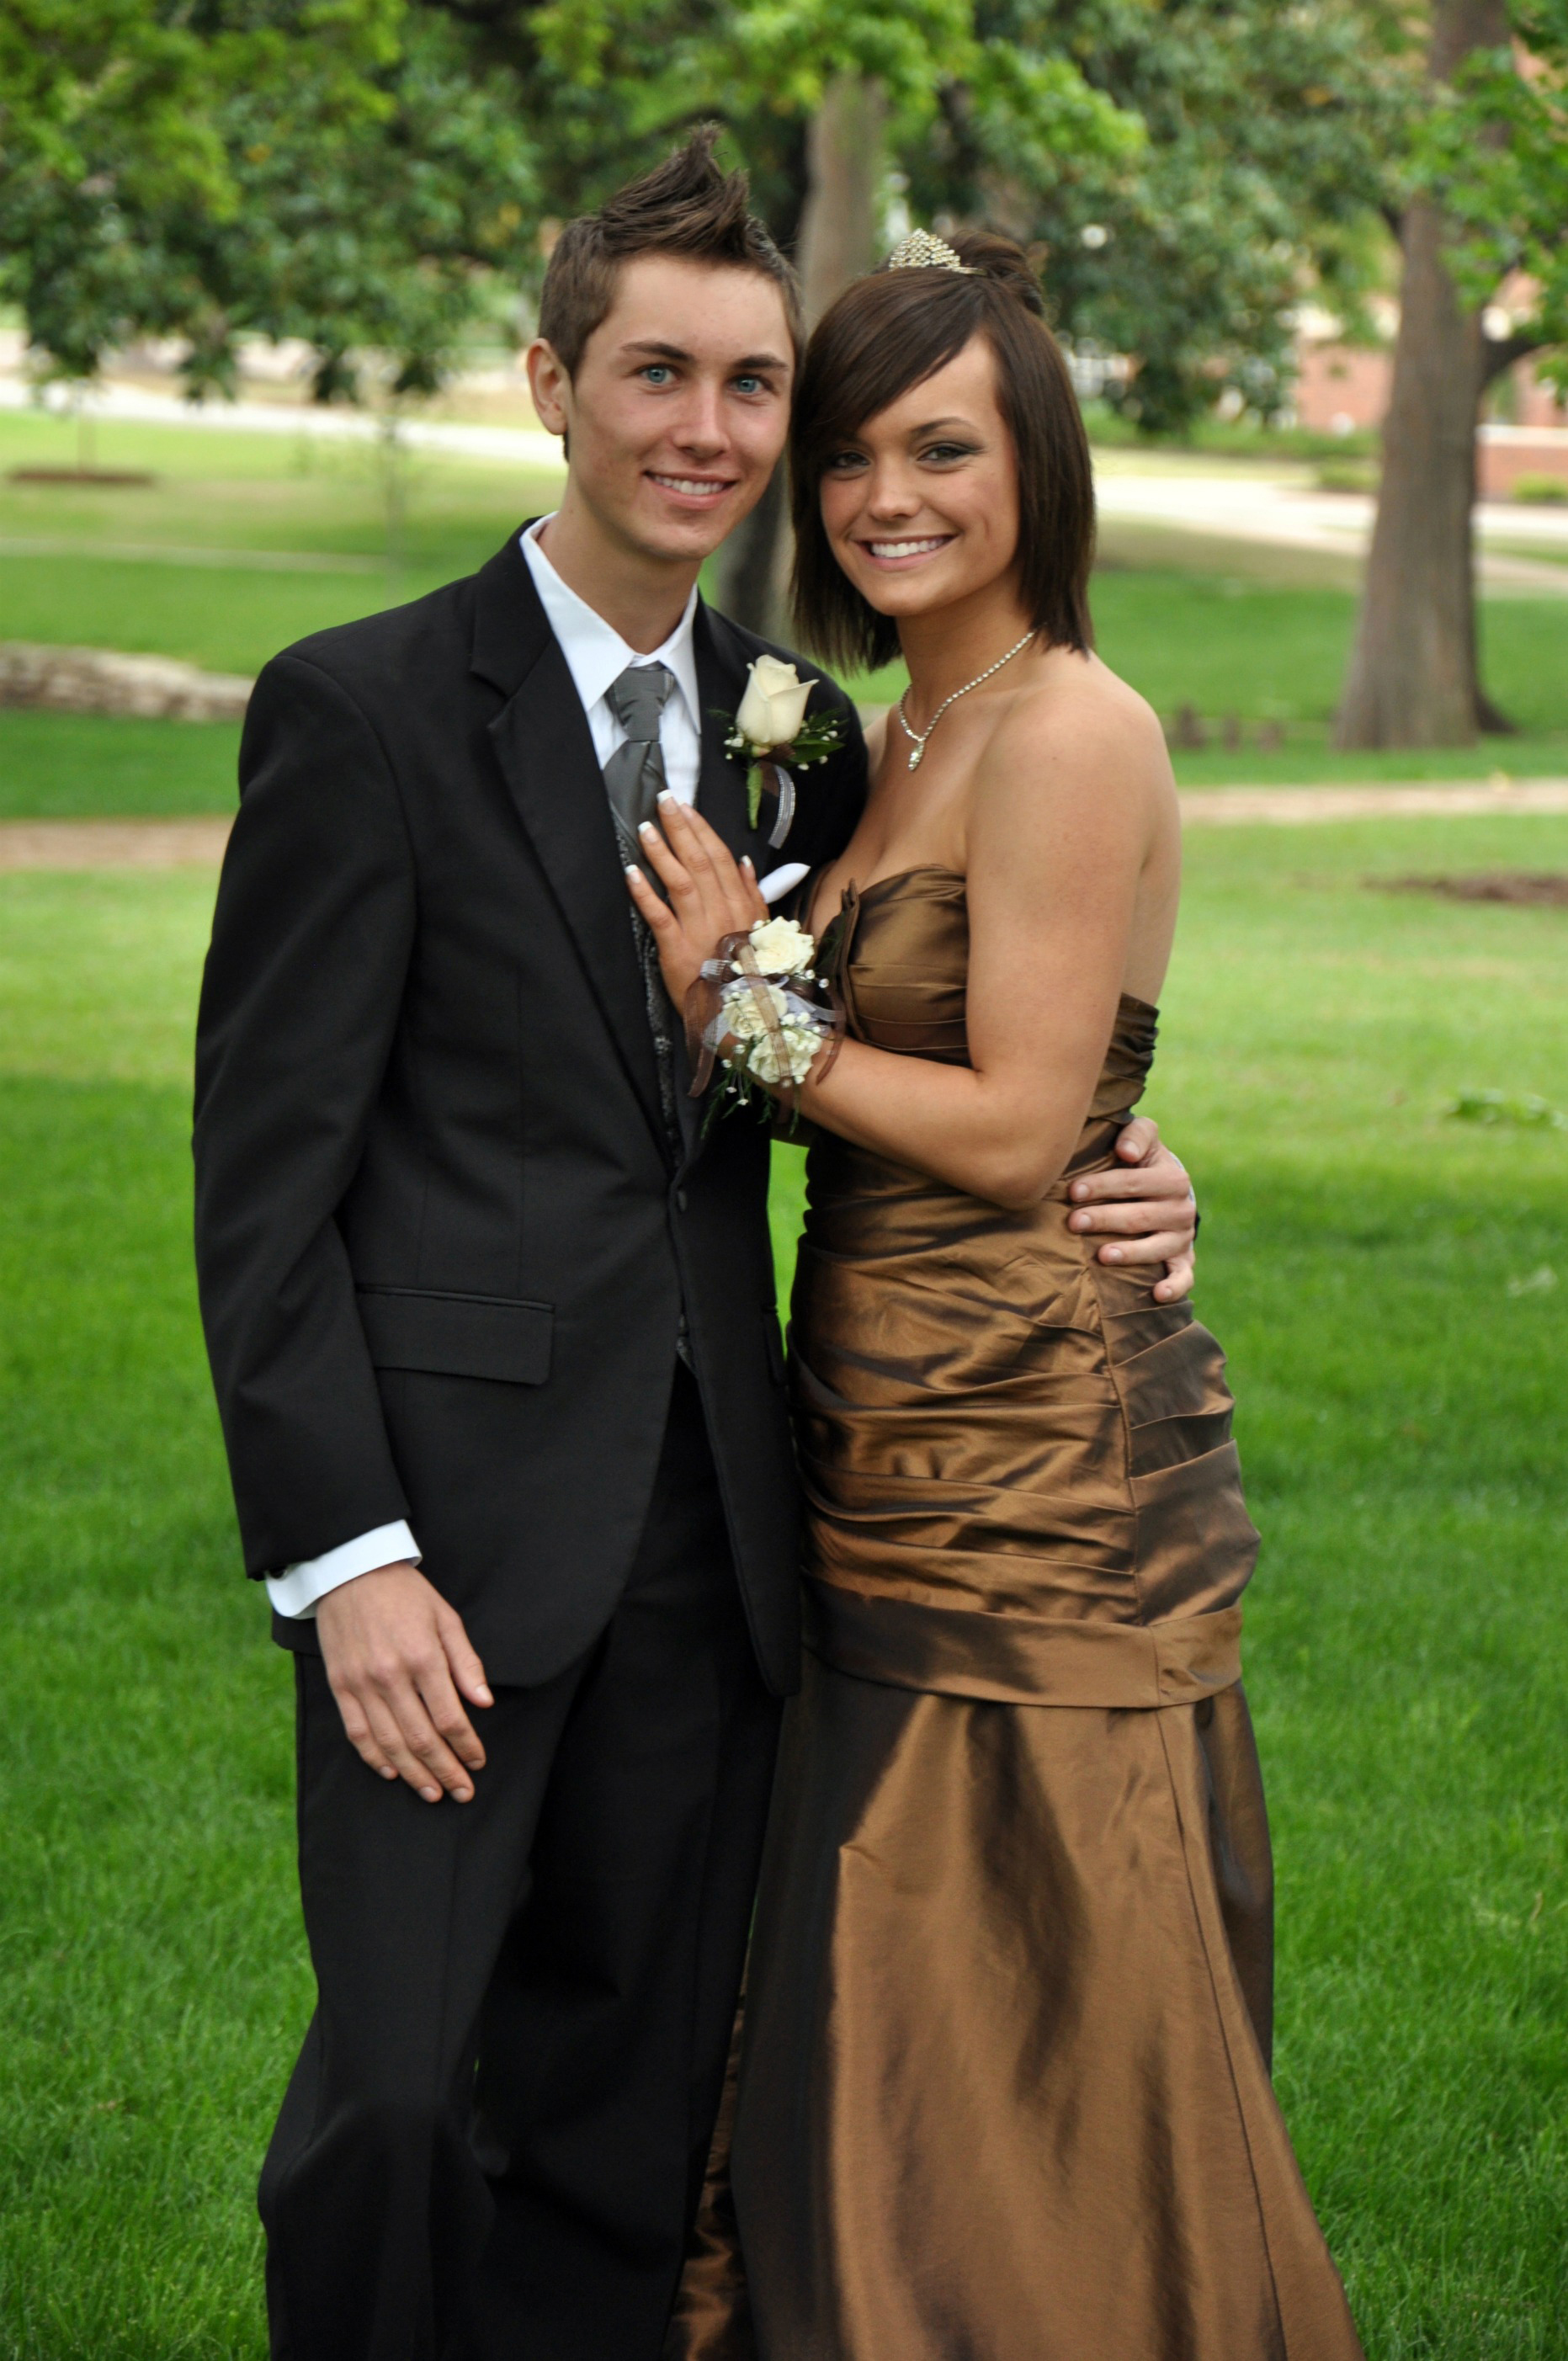
Assignment 2: Open the "Ex" prom photo. Make the happy couple break up by eliminating one of the heads. Leave a headless stump of a neck. Show it to Mr. Boberg for credit.
Example:
| unit10ex.jpg |
Tuesday, January 23 2017
1. Go to dafont.com
2. Select a font you like for your poster
3. Click download on the right
4. Click into the folder until you see a file that ends with .ttf (example.ttf)
5. Double click to open
6. Click install font
7. Open your movie poster project. The font should be found now in your fonts.
***NOTE: If Photoshop was already open, you must close then reopen for the font to show up***
Monday, January 22 2017
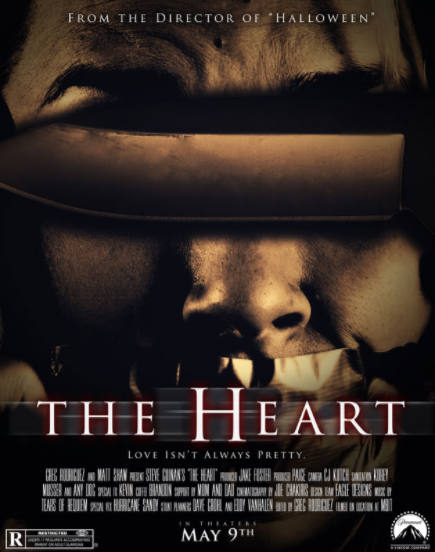
Assignment: MOVIE POSTER
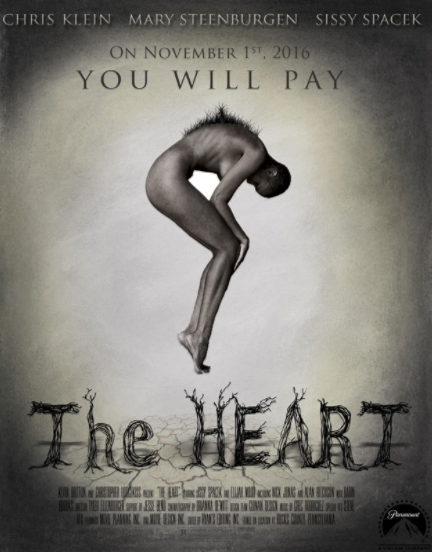
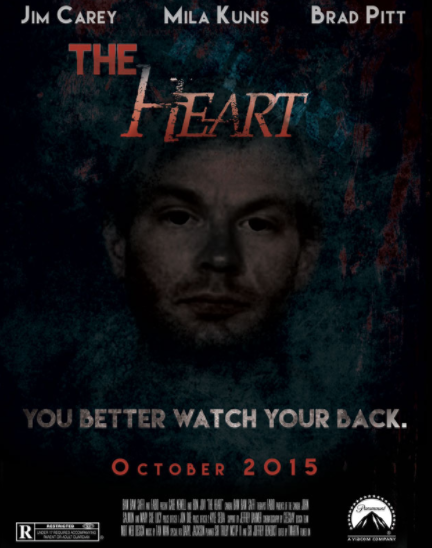
Your assignment is to design an original movie poster for the movie “The Heart.”
1. Determine the movie genre (comedy, horror, sci fi, etc), actors/actresses, movie rating, credits, tagline, images/graphics, etc.
2. Open Photoshop. Go to File > New. Select Print at the top
3. On the right, under Preset Details, name your file Poster.
4. Make the Width =11. Height =14. 300ppi and in CMYK color mode. Click Create
5. Create and Design.
Things your poster must have:
1. Your movie must be titled "The Heart"
2. Movie Title
3. Tagline (provides more information on the movie besides the title alone)
4. Opening movie date
5. Actors & Actresses (at least 2)
6. Credit / Billing block (that big block of text)
7. Studio Logo (Paramount Logo provided)
8. MPAA rating (G, PG, PG-13, R – provided)
|
|
|
| ||||||||||
Examples
|
|
|

|
Download the credit block, the paramount logo, and select the rating of your film.
|
|
|
|
|
| ||||||||||||
Thursday, January 18 2017
Consider this a mini-project. You will use your creativity and newly acquired ninja-layering skills. You are expected to take your time on this one.
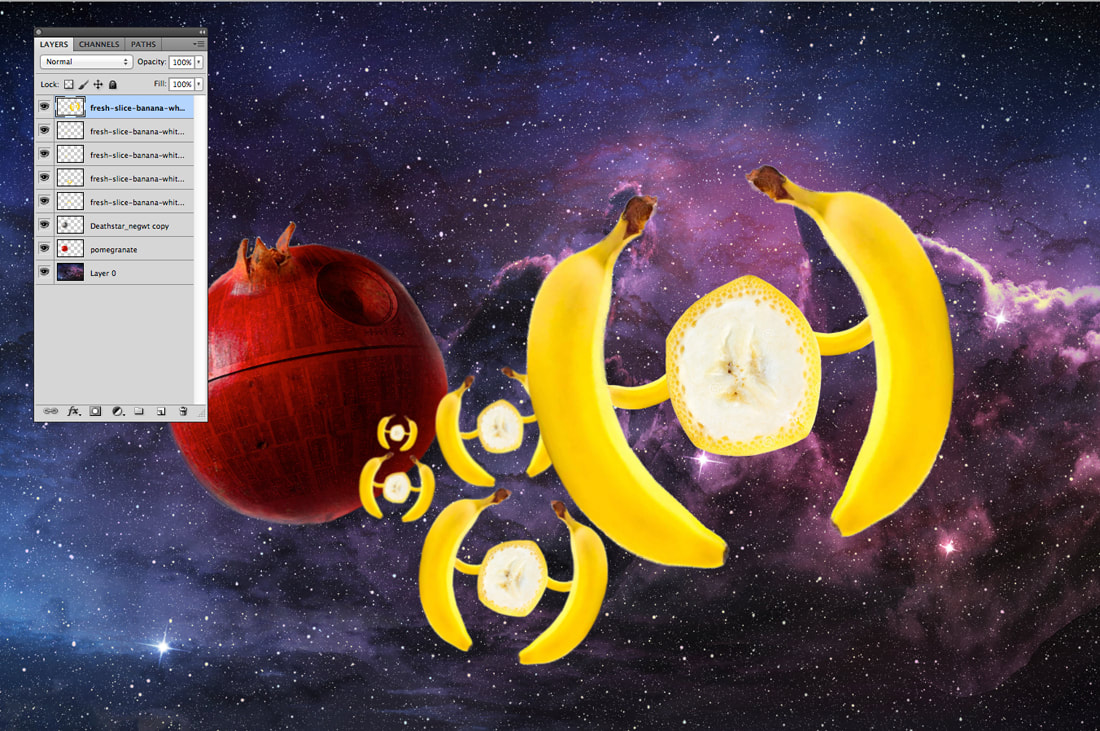
Make your own creative composite image. Download several photos from the internet (minimum of 2000px...the bigger the better).
One should be a main subject (person's face, dog, bottle of maple syrup, etc.) and the others should be some sort of background (NRG stadium, golf course, stampeding dachshunds, etc.) and foreground elements (falling leaves, grass, snow flakes, fog, etc.).
Use selections tools and techniques to combine the images. BE SURE TO USE THE "REFINE EDGE" TOOL! Make it layer on layer on layer (multiple overlapping elements) like the Bieber example, but don't copy the Bieber example!
Show your multi-layered composition to Mr. Boberg for credit.
REQUIREMENTS:
Minimum 10 images
NO .png images allowed
BE CREATIVE!
Friday, January 12 2017
Watch the video below, take notes, then take the VOCAB 6 TEST - PHOTOSHOP 1
Assignment: Composite Image
Watch video below. Read directions under the video.
|
Consider this a mini-project. You will use your creativity and newly acquired ninja-layering skills. You are expected to take your time on this one.
Make your own creative composite image. Download several photos from the internet (minimum of 2000px...the bigger the better). One should be a main subject (person's face, dog, bottle of maple syrup, etc.) and the others should be some sort of background (NRG stadium, golf course, stampeding dachshunds, etc.) and foreground elements (falling leaves, grass, snow flakes, fog, etc.). Use selections tools and techniques to combine the images. BE SURE TO USE THE "REFINE EDGE" TOOL! Make it layer on layer on layer (multiple overlapping elements) like the Bieber example, but don't copy the Bieber example! Show your multi-layered composition to Mr. Boberg for credit. REQUIREMENTS: Minimum 10 images NO .png images allowed BE CREATIVE! |
Examples: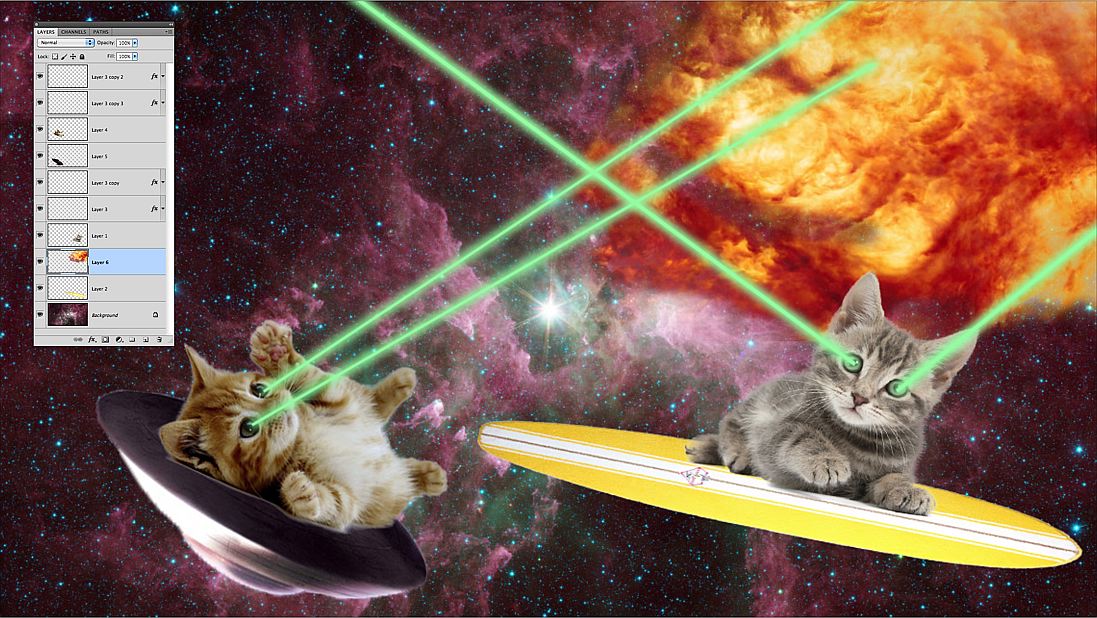
|
Thursday, January 11 2017
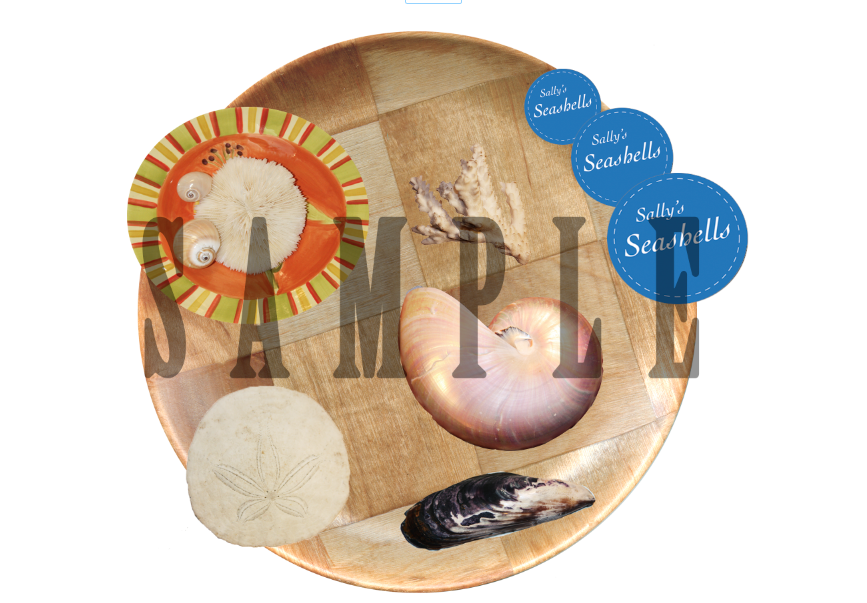
| Seashells.psd |
4Assignment:
Download the Lesson 4 File above
Using all of the tools listed above, recreate the image below (without the SAMPLE part obviously)
Wednesday, January 10 2017
ASSIGNMENT NAME: DRIVER
Restore the crazy driver image back to its original condition. Use only black & white. Use the eraser and paint brush. Show it to Mr. Boberg for credit.
TO OPEN -------------------------->
|
| ||
Tuesday, January 9 2017
ASSIGNMENT:
1. Bring in 3 large photos (1920x1080 or above)
- 1 background
- 2 pictures of any character you want.
- Make sure they are .png photos
- Bring them in and place them in your setting
- Show to Mr. Boberg for credit
Monday, January 8 2017
Take the Google Form below AFTER Mr. Boberg goes through procedures
Tuesday, December 5 2017
Thursday, November 30 2017
Watch the video below to take notes
Below is the video you will storyboard. This will be due at end of class Friday.
Tuesday, November 28 2017
Use your notes to take the quiz below
Monday, November 27 2017
Directions: Use the video below to take notes
Friday, November 17 2017
Wednesday, November 15 2017
Tuesday, November 14 2017
Monday, November 13 2017
Friday, November 10 2017
Thursday, November 9 2017
SCRIPTS TO CHOOSE FROM
2 GUYS, 1 GIRL
2 GIRLS
2 GUYS
1 GUY, 1 GIRL
Tuesday, November 7 2017
Monday, November 6 2017
Directions: Use the video below to take notes, then do the Google Form
Example of DIALOGUE EDITING PRACTICE below
Friday, November 3 2017
Monday, October 30 2017
Directions: Use your notes to take the quiz below
Friday, October 27 2017
Thursday, October 26 2017
Wednesday, October 25 2017
Directions: Use the video below to take notes
Below are examples of the Quick Cut Montage Project
Tuesday, October 24 2017
Directions: Watch the first video below to take notes. You will then be assigned to a microphone. Take notes on the piece of equipment you are assigned, the hook it up with your group.
BOOM MIC TO TASCAM GROUP
DSLR BOOM MIC GROUP
LAV MIC GROUP
Monday, October 23 2017
Directions: Use the video below to take notes
Friday, October 20th 2017
Wednesday, October 18th 2017
Tuesday, October 17th 2017
Monday, October 9th 2017
Friday, October 6th 2017
Directions: 1. Use the video below to fill out notes for the Sound Effects vocab handout
Thursday, October 5th 2017
Directions:
1. Use the video below to fill out notes for the Sound Effects vocab handout
2. Fill out the Google Form as we watch the videos
Wednesday, October 4th 2017
Tuesday, October 3rd 2017
Monday, October 2 2017
Directions: Use the video below to take the Google form quiz
Thursday, September 28 2017
Wednesday, September 27 2017
Tuesday, September 26 2017
Monday, September 25 2017
Directions: Use today's handout to answer the questions below
Friday, September 22, 2017
Directions: Use the video below to fill out some of the definitions
Use the video below to list how to use the DSLR
Thursday, September 21, 2017
Tuesday, September 19, 2017
Directions: Watch both videos. Make sure to write down the following definitions on your vocab sheet:
- Cross Cut/Parallel Cutting
-Insert
-Cutaway
-Cutting on the Action
Monday, September 18, 2017
Directions: Watch the video and take the shot quiz below
Friday, September 15, 2017
Thursday, September 14, 2017
Directions: Use the video below to fill out some of the definitions
Directions: You will do this after playing Kahoot! Watch the trailer, then take the quiz. This will be a grade.
Wednesday, September 13, 2017
Tuesday, September 12, 2017
Monday, September 11, 2017
Wednesday, September 6 2017
Directions: Please fill out the Google Form below
Thursday, August 24, 2017
Directions: Watch the three videos below, then fill out the Google Form below each video
Wednesday, August 23, 2017
Tuesday, August 22, 2017
Monday, August 21, 2017
Directions: Watch Videos 1 and 2, then fill out the Google Form below each video
Video 1:
Google Form for Video 1:
Video 2:
Google Form for Video 2:
Friday, August 18, 2017
Directions: Fill out the Google Form below
Thursday, August 17, 2017
Directions: Fill out the Google Form below
